Last updated November 18, 2026

Free written scope consultation - allowances, timeline, and change-order rules on paper before a single trade is scheduled
Home Additions & ADU Troubleshooting: Common Problems and How to Fix Them
Water infiltration at the seam where an addition meets the original house accounts for most of the callbacks we get on finished addition work. Not roof leaks. Not cracked slabs. The tie-in point. And in almost every case we’ve traced, it comes back to one flashing detail that got rushed during framing – a step flashing lapped the wrong way, a missing kick-out, a piece of housewrap that got slit and never taped. The homeowner sees a stain on the ceiling eighteen months later and assumes the worst about the whole build. Usually it’s a $400 detail, not a $40,000 mistake. This guide walks through the most common failures in Allen additions and ADUs, maps the symptom you’re seeing to the construction phase where it actually started, and gives you a straight answer on what to do next.
Quick Answer
Most home addition and ADU problems fall into six buckets: water intrusion at the tie-in, HVAC that can’t keep up, foundation settlement mismatch, flooring and finish transitions that fail, doors and windows that won’t operate, and permit gaps that surface at resale. The fix depends on which phase it originated in – design, permitting, framing, or finish – not on which room it’s showing up in. Diagnosing the root cause first saves you from paying twice for the same problem.
Styles & brands we work with
- Kitchen remodeling
- Bathroom remodeling
- Home additions & ADU
- Roofing
- Windows & doors
- Driveway & pavers
- Fence
Table of Contents
- Water at the Tie-In Point: Why It Happens and What Actually Fixes It
- HVAC That Can’t Keep Up in the New Space
- Foundation Mismatch: When the Addition Settles Differently
- Floor, Ceiling, and Door Transitions That Fail
- Unpermitted Additions in Texas: Selling, Disclosures, and Retroactive Fixes
- ADU-Specific Problems: Utility Overload, Insulation, and Sound
- Repair vs. Redo: A Decision Tree for Inherited Bad Work
- How to Prevent These Problems on a New Build
Water at the Tie-In Point: Why It Happens and What Actually Fixes It
The tie-in is where the new roof plane meets the existing wall, where new siding meets old, and where water has the most opportunity to get behind a surface. Every one of those transitions requires layered, sequenced flashing – and it has to be stepped correctly, in the right order, during framing. You can’t retroactively fix step flashing by caulking the exterior. We’ve seen homeowners pay three different handymen to “reseal the seam” before anyone pulled the siding back and found the real problem.
North Texas makes this worse than most markets. Allen gets roughly 39 inches of rain a year, much of it in short, high-intensity spring storms that drive water sideways against a wall. A horizontal taped seam on housewrap that might survive a gentle Seattle drizzle will fail in a Denton County hailstorm. So when the tie-in is even slightly wrong, you find out fast.
The most common causes, in order of frequency:
- Step flashing installed flush against the sheathing with no kick-out at the bottom course, so water tracks back under the siding.
- Housewrap lapped the wrong direction at the wall-roof intersection, funneling water behind the WRB instead of over it.
- Missing or improperly oriented kick-out flashing at the roof-to-wall terminus, which puts water directly on the fascia.
- Siding butt joints that land within 6 inches of the roof line and weren’t back-caulked.
- Roof-to-wall flashing that terminates without a counterflashing reglet cut into the existing masonry or siding.
The fix almost always involves opening up the exterior at the affected area, replacing the failed flashing detail, and re-lapping the weather barrier correctly. It’s not glamorous work, but it’s the only work that stays fixed. If your addition’s interior shows staining after storms, call us before you let anyone caulk it – (888) 343-9048 will get you a real diagnosis, not another bandaid.
HVAC That Can’t Keep Up in the New Space
An addition that’s always 4 to 6 degrees warmer than the rest of the house in July is a design failure, not a system failure. The original HVAC was sized for the original square footage, and the manual J load calculation for the addition frequently gets skipped or eyeballed during design. When the crew adds 400 square feet of conditioned space and just extends an existing duct run, the result is predictable: the master suite over the new primary bath is 78 when you want 72.
In Allen, the cooling load swings hard. A south- or west-facing addition with properly sized windows can still fail if the envelope isn’t sealed tight. We’ve torn into week-old additions in the Twin Creeks area and found unsealed top plates, missing attic baffles, and duct runs pinched to 60% of their design cross-section – all of which compound the undersizing problem.
Symptoms and what they usually mean:
- Addition runs hot in summer, fine in winter: Undersized equipment or a supply duct that can’t deliver enough CFM to the far end of the new space.
- New space comfortable, rest of house hotter: The new zone is stealing airflow from the original system; you need a properly balanced zoning setup or a dedicated mini-split.
- Humidity high in the addition even when temperature is fine: Oversized equipment short-cycling before it dehumidifies, or a leaky envelope pulling in moist outside air.
- Ductwork noisy, air whooshing at registers: Static pressure too high because the duct was undersized for the load.
Fix options range from adding a dedicated mini-split (often the cleanest answer for a single addition) to upsizing the main unit and re-trunking the duct layout. The bigger point: if you’re planning an addition here in Allen, insist on a manual J calculation before framing starts. It’s a $300 to $600 step that prevents a $6,000 to $12,000 problem. Our team can scope the HVAC piece as part of a Home Additions & ADU in Allen project before a single 2×4 goes up.
Foundation Mismatch: When the Addition Settles Differently
This is the one that makes homeowners lose sleep, and rightly so. When an addition’s foundation settles at a different rate than the original house, you get differential movement. The visible symptoms are stair-step cracks in exterior brick, doors that suddenly stick, drywall cracks radiating from corners, or a noticeable slope in the new floor. In Allen’s clay-heavy Blackland Prairie soil, the swing between wet and dry seasons makes differential settlement a real risk on any addition if the foundation design wasn’t engineered for it.
The root cause is usually one of three things: the addition’s foundation was spec’d undersized, the soil under the new pour wasn’t prepped to the same standard as a full build, or the tie-in between old and new slab was executed with a simple cold joint rather than the correct reinforcement or engineered slip detail. Sometimes all three.
What the actual fix involves:
- An engineer evaluates the differential movement and determines whether it’s settling (still moving) or settled (stable). That distinction changes the whole approach.
- If still moving: underpinning the addition perimeter with piers – typically pressed concrete or steel – driven to stable soil. This is the expensive path, and it runs $1,200 to $2,500 per pier.
- If the base is stable but the tie-in joint failed: repairing the joint with proper reinforcement and a flexible seal at the interior finish line.
- Cosmetic repair of cracks and door alignment once the structural work is done and monitored through a full wet-dry cycle.
If your Allen addition was built 5 or more years ago and hasn’t shown movement, the differential settlement risk is largely behind you. The first 24 months are the window when problems surface. If you’re inside that window and seeing cracks, get it evaluated before the warranty clock runs out – assuming the original builder gave you one.
Floor, Ceiling, and Door Transitions That Fail
Transitions are where finish carpentry either shows its craft or reveals its shortcuts. The most common complaint we hear: “the floors don’t match” or “the door to the new room won’t close right since summer.” Both trace back to specific skipped steps.
Floor transition failures:
- Different subfloor heights: If the addition is a slab-on-grade and the original is pier-and-beam, the finished floor elevations must be reconciled during framing. A 3/4-inch step down mid-hallway is a permanent trip hazard.
- Wood species and lot mismatch: Site-finished hardwood from a different mill lot at a different humidity reading will move differently, and it shows up as cupping or gapping within the first year. We’ve corrected installations in Allen where the tongue-and-groove wasn’t acclimated to interior condition before install – a rookie mistake that shows up six months later.
- Threshold that hides rather than solves: A reducer strip over a 1/2-inch gap looks tidy for a year, then cracks and starts popping nails.
Ceiling and door transition failures:
- New ceiling height mismatched with the existing space creates a visible step that either needs a designed soffit or a through-framed level plane – one is intentional, the other looks like a mistake.
- Doors that swell and stick seasonally are usually hung in a space that isn’t sealed or conditioned properly, so the door absorbs humidity swings the rest of the house doesn’t see.
- Door headers framed without proper jack studs deflect over time, and the door stops closing in a straight line.
Most of these get fixed once, correctly, by someone who understands how an addition integrates with the existing structure. A quick fix from a handyman typically extends the problem, not resolves it. Our team handles the full picture – framing through finish – as part of any addition project in Allen, and we do the transitions right the first time.
Unpermitted Additions in Texas: Selling, Disclosures, and Retroactive Fixes
An unpermitted addition can turn a $600,000 home in Allen into a deal that dies at the inspection table. In Texas, sellers have a disclosure obligation under Property Code Chapter 5 (specifically the Seller’s Disclosure Notice) that requires disclosing known conditions materially affecting the property – including unpermitted work. If a buyer’s inspector or appraiser finds an addition with no permit history, the deal can fall through, or renegotiation can take $20,000 to $50,000 off your asking price. Worse: if the addition was built without permits and without following current code, the buyer may be looking at the retrofit costs.
Here’s what you actually need to know about retroactive resolution in Allen:
- Check the permit history first. The City of Allen’s online permit portal lets you search by address. Pull the record and see what was pulled and what was inspected.
- Call Allen’s Building Inspections division before doing anything else. They’ll tell you what documentation they need for a “permit-after-the-fact” or “as-built” submission, which is not the same as a fresh permit.
- Expect a plan-review requirement. For most structural additions, you’ll need to submit as-built drawings prepared by a Texas-licensed engineer or architect. This typically runs $1,500 to $4,000 for the drawings.
- Expect to open walls. Inspectors often need to see the framing, insulation, and MEP rough-in before signing off on a permit-after-the-fact. Sometimes this means removing drywall – sometimes a lot of drywall.
- Expect trade-specific inspections. Electrical, plumbing, mechanical, and structural all have to be inspected individually. If the wiring was done by an unlicensed handyman, expect remediation.
- Get the certificate of occupancy (or equivalent) in hand. Don’t close on a sale without the inspection record cleared and the CO issued.
Retrofitting permits isn’t cheap – typically $3,000 to $15,000 plus remediation – but it’s usually far cheaper than the discount a buyer will demand, or the deal falling through. If you’re sitting on an unpermitted addition in Allen and feeling stuck, call us for a straight conversation. Our team handles this exact scenario.
ADU-Specific Problems: Utility Overload, Insulation, and Sound
ADUs – whether detached, attached, or garage conversions – present a distinct set of problems from standard additions because they need to function as fully independent dwellings. The most common issues we see:
Utility overload:
- Electrical panel capacity: A 200-amp service feeding a main house may only have 40 to 60 amps of headroom for a detached ADU with its own water heater, dryer, and mini-split. Adding a subpanel without a load calc can over-draw the main feed and trip breakers under simultaneous load. In detached ADU builds, it’s often cleaner to run a dedicated service and meter.
- Water supply pressure and line size: A 3/4-inch supply line shared between house and ADU typically works for 1 fixture running at a time, not two. Upgrade the supply line or install the ADU on its own meter with its own pressure regulator.
- Sewer and drain capacity: Shared sewer ties are usually fine if the original line is 4-inch and properly graded, but a garage-conversion ADU that taps into an undersized existing waste line will back up on the first cold morning with the dishwasher and shower running.
Insulation and sound transmission:
- Attached ADUs and garage conversions commonly fail the “quiet” test – you can hear every conversation through the shared wall. The fix is resilient channel plus a properly decoupled layer of 5/8-inch drywall with acoustic sealant at perimeter joints. It costs more to install after the fact than during framing.
- Detached ADUs in Allen often come in under-insulated because the builder treats them like a shed rather than a dwelling. Current IECC requirements for conditioned space apply, and an uninsulated ADU will run $200 or more per month in HVAC cost that a properly insulated unit wouldn’t.
- Floor-ceiling assemblies in two-story ADUs need sound isolation if the unit is rented as a single dwelling with the garage below or a second unit above – otherwise footfall noise becomes a tenant complaint.
ADUs need to be designed as dwellings from day one, not as modified additions. If you’re considering one for rental income or multigenerational living, our dedicated Home Additions & ADU service starts with the utility sizing and envelope detail before we ever talk about finishes.
Repair vs. Redo: A Decision Tree for Inherited Bad Work
If you bought a house with an addition or ADU that the previous owner built, you’re now the proud owner of someone else’s workmanship. Before you start calling contractors, work through this decision sequence:
- Is it structurally moving? Cracks that are actively growing, doors that have stopped closing over a period of months, or visible foundation displacement means the issue is live. Get an engineer’s opinion first – $500 to $900 well spent. Don’t plan finish work over a moving structure.
- Is it water intrusion? Walk the exterior of the addition during heavy rain and look for water at the tie-in, at the wall-roof intersection, and at ground level. If it’s leaking, fix it before anything else – including before you replace the drywall the leak ruined.
- Is it permitted? Pull the permit history from the city. If the work was unpermitted, determine whether the cost of permitting retroactively is less than the resale discount the unpermitted status will cost you. In most Allen homes, permitting is the cheaper path.
- Is the envelope performing? Check for HVAC adequacy, moisture, and air-tightness. If the addition runs hot, drips in rains, and the walls are drafty, the fix is likely more than skin-deep.
- Is the finish just outdated? If the structure, envelope, permits, and systems are all solid, and the problem is cosmetic – ugly tile, dated cabinets – that’s a remodel, not a repair. Big difference in scope and cost.
- Is the layout functional? If the addition was built with a hallway that eats 30% of the square footage or a bathroom that doesn’t meet code minimums, you have a layout issue. Sometimes reframing one wall fixes it; sometimes it’s a redo.
Rough cost ranges for Allen: minor repair and cosmetic work typically runs $5,000 to $25,000; targeted structural and envelope repair runs $25,000 to $85,000; a full redo of a poorly built 400-square-foot addition runs $140,000 to $220,000 depending on finishes. If you’re trying to figure out which bucket you’re in, get a real diagnosis from someone who rebuilds these regularly. Our team will tell you straight which fix makes sense – even if the honest answer is “don’t pour money into this one.”
How to Prevent These Problems on a New Build
Most of what’s in this guide comes down to about six decisions made before the first shovel. Get these right and the post-build callback list shortens dramatically.
- Engineer the foundation tie-in. Don’t accept a standard slab extension if the soil conditions in your part of Allen warrant a designed transition. This costs a few thousand upfront and saves tens of thousands later.
- Run manual J and manual D calculations. Heating, cooling, and duct sizing must be engineered for the total combined square footage, not extended from the original system.
- Specify the flashing sequence in the drawings. Kick-out flashing, step flashing order, WRB lapping, counterflashing reglet – all of these should be on the plan, not left to the framing crew’s judgment.
- Get permits pulled before work starts. No exceptions. The Allen permit office is straightforward when you give them a clean submittal and expensive when you need to retroactively resolve a shortcut.
- Match subfloor elevations during framing. Finish floor grades, ceiling heights, and door swing clearances should all be reconciled on paper before framing.
- Weatherbarrier details at every penetration. Siding butt joints, hose bibs, and window flanges all need back-caulking and proper integration with the WRB. We use CertainTeed and Owens Corning systems because they publish the detail drawings and stand behind their penetrations.
New additions in Allen planned correctly cost more upfront and cost far less over the following decade. That’s the trade we make with clients every day. We back the work with a 730-Day Done Right Promise – if it’s not right, we come back and make it right – and that guarantee applies to every detail above.
Common Mistakes to Avoid
- Letting a handyman caulk the tie-in leak. Sealant over failed step flashing traps water behind the siding instead of stopping it, which accelerates rot in Allen’s humid spring conditions. It buys six months and costs an extra $3,000 in remediation.
- Extending the existing HVAC ductwork without a load calc. Every “hot addition” story in Allen starts here. The system wasn’t sized for the new square footage, and no amount of thermostat adjustment fixes it.
- Building an addition or ADU without permits. A Texas seller’s disclosure obligation makes this a legal risk, not just a code problem. Unpermitted work surfaces at the appraisal, not at the sale negotiation where you can control the narrative.
- Assuming foundation cracks are cosmetic. Some are – some aren’t. Allen’s Blackland clay soil is notorious for movement, and a crack that looks like shrinkage might be differential settlement. Get it evaluated before you paint over it.
- Skipping the envelope air-sealing step to save time. A 400-square-foot addition with unsealed top plates and no attic baffles loses 20% to 30% of its HVAC to the attic. The cost to fix after the drywall’s up is 5x the cost to do it right during framing.
- Not reconciling finished floor heights before framing. A 1/2-inch elevation difference becomes a permanent trip hazard, and no reducer strip fixes the underlying problem. This is a decision that has to happen on the drawings.
- Using the same contractor for the addition who built the last one badly. Obvious in theory, but homeowners do it. If the last build had problems the contractor won’t own, that’s the clearest signal to bring in fresh eyes – the 730-Day Done Right Promise is our answer to this exact distrust.
See the difference
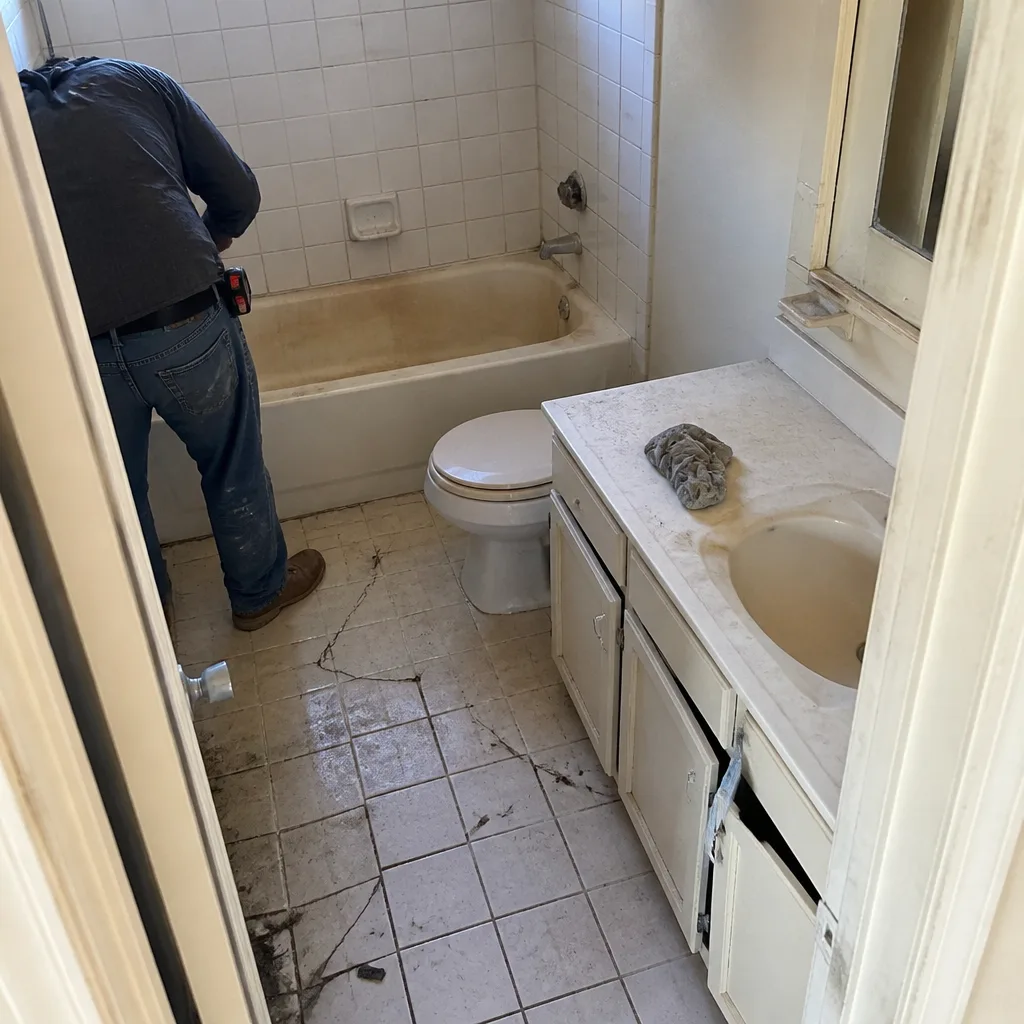 Before
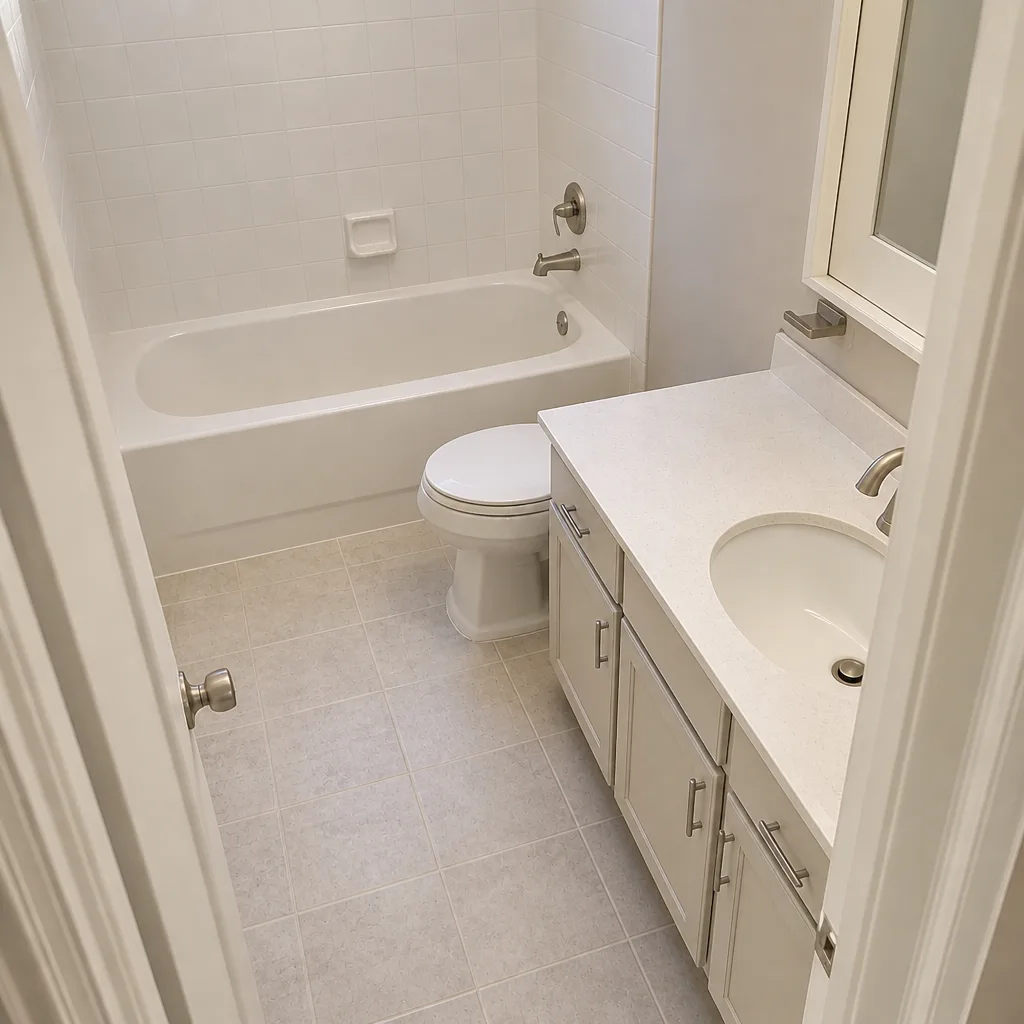 After
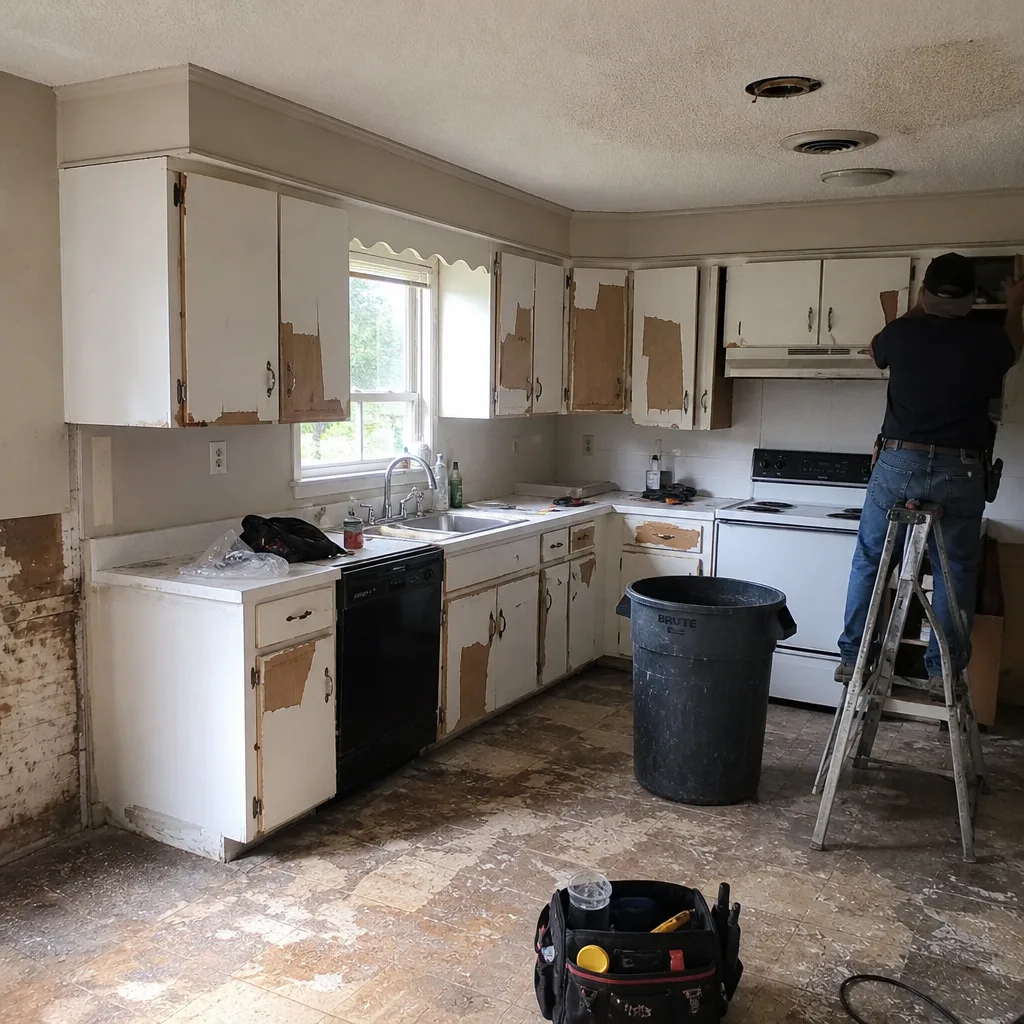 Before
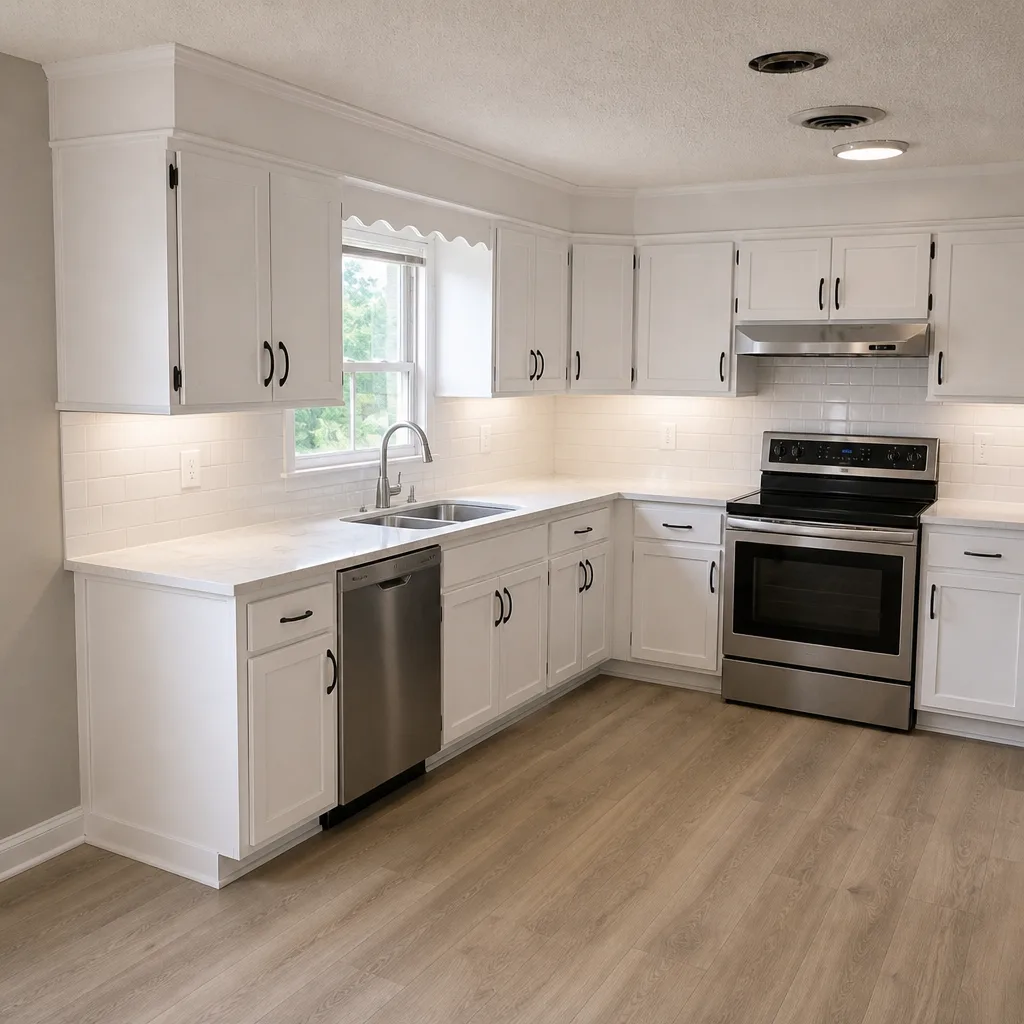 After
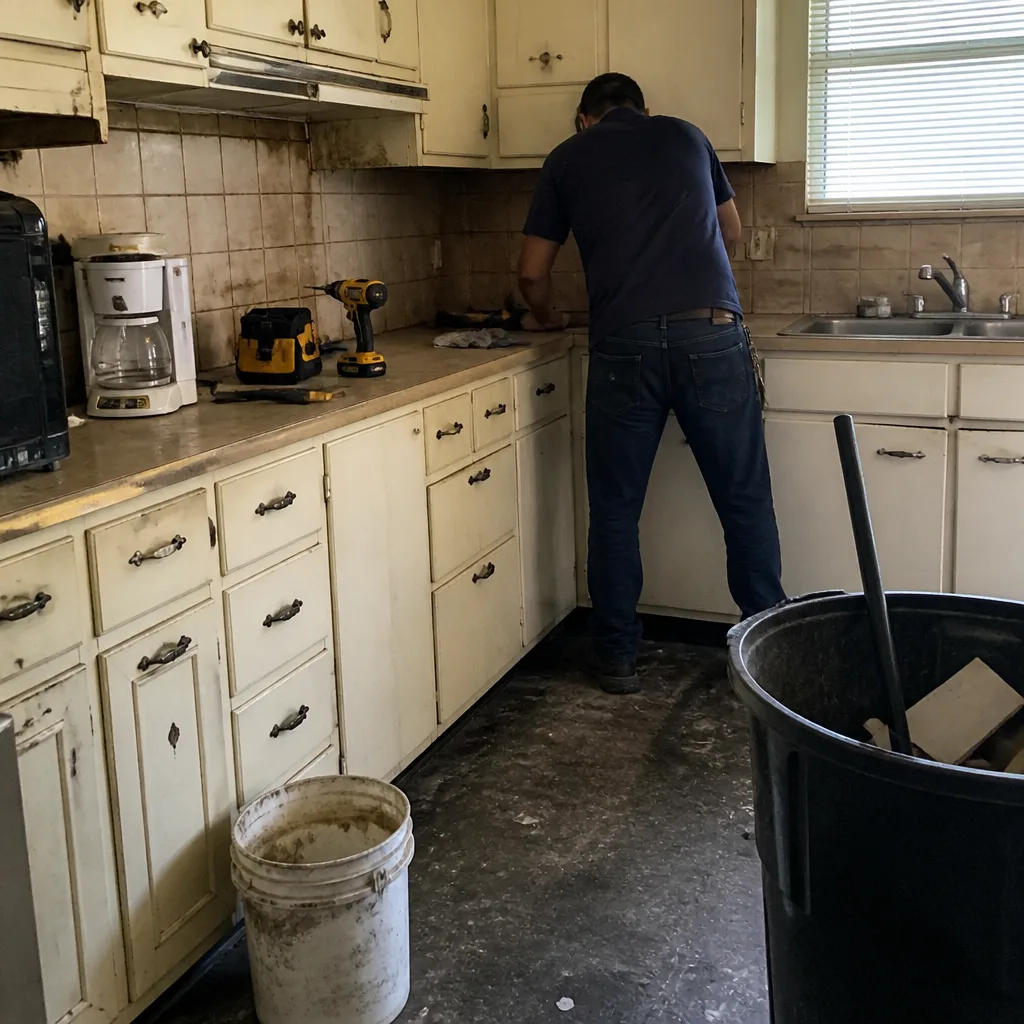 Before
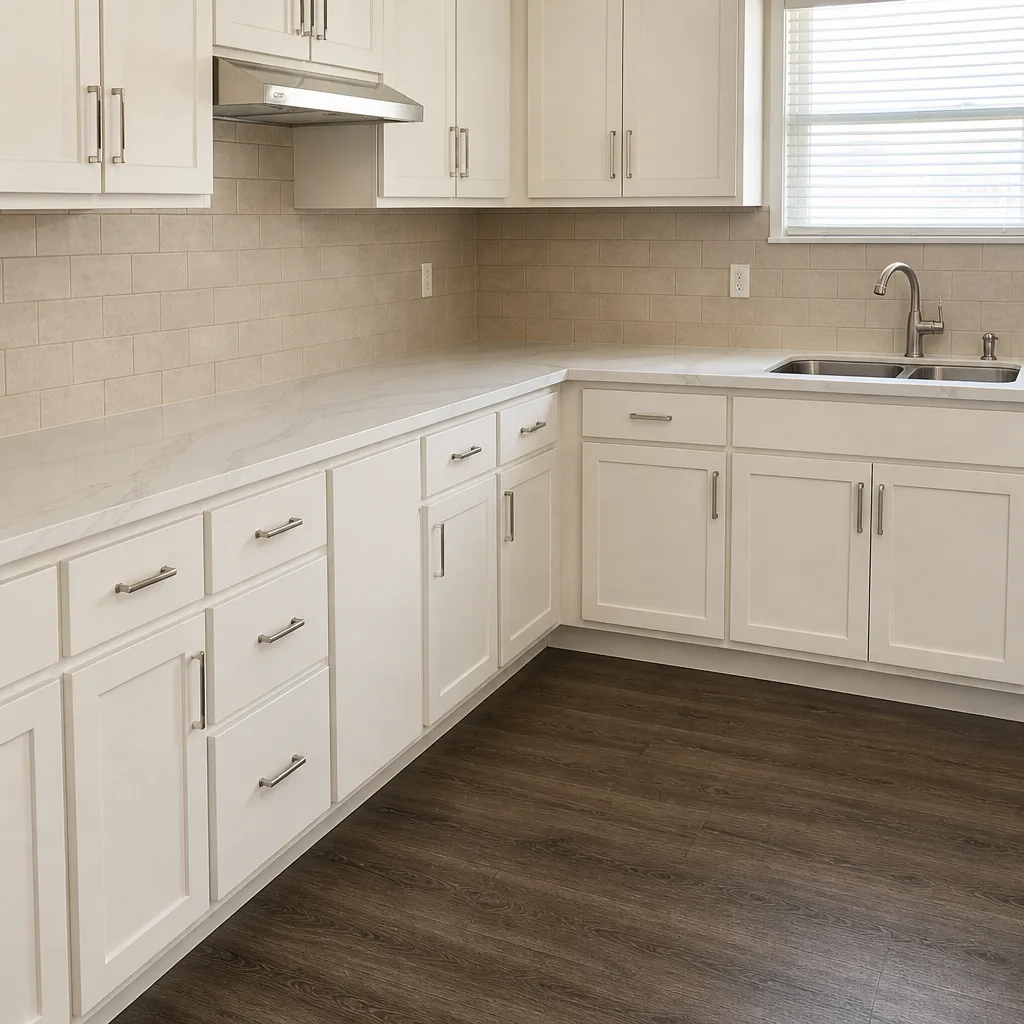 After
When to Call a Professional
Call us when any of these are true: water is showing up at or near the tie-in after storms; the new space can’t hold temperature; you’re seeing new cracks, sticking doors, or sloped floors in an addition; an unpermitted build is threatening a sale or refinance; or you inherited work from a previous owner and don’t know what’s underneath. These aren’t DIY-friendly diagnoses, and the wrong fix amplifies the cost. Our team handles the full scope – diagnosis through repair through, when it comes to it, a fresh build – and we do it with background-checked, uniformed technicians and upfront pricing. Groundwork Construction Co. of Allen offers free estimates in Allen and its surrounding neighborhoods – call (888) 343-9048 to schedule yours. If you’re also planning exterior work around the addition, we handle Driveway & Pavers in Allen and Fence Installation in Allen with the same guarantees.
Frequently Asked Questions
Most tie-in repairs run between $1,800 and $6,500 in Allen, with the cost driven by how much siding has to be removed and whether interior water damage already happened. The cheapest version – a small flashing fix without interior drywall repair – usually lands near $1,800. If the leak has been active for a season and has compromised drywall and insulation, you’re looking at $4,000 to $6,500. Call (888) 343-9048 for a free estimate – we’ll tell you exactly which scenario you’re in.
Yes, but you must disclose it on the Seller’s Disclosure Notice under Texas Property Code Chapter 5, and the disclosure will affect your buyer pool and your negotiating position. Buyers with FHA or VA financing may walk away from an unpermitted addition because it doesn’t meet their lender’s requirements. Cash buyers will typically demand a significant discount. The cleaner path is usually getting the work permitted retroactively before listing – call (888) 343-9048 to discuss what that looks like for your specific addition.
In Allen, that almost always traces to the HVAC system not being sized for the additional square footage, combined with envelope leaks that let attic heat in. The original system was likely sized for the original home, and the addition’s ductwork may reduce airflow to the new space instead of adding capacity. A manual J calculation will show exactly what’s wrong. Call (888) 343-9048 to schedule a walkthrough – we’ll diagnose before recommending a fix.
Retroactive permitting for an unpermitted addition in Allen typically runs $3,000 to $15,000 total, covering as-built drawings by a licensed engineer, plan review, and trade inspections. Remediation costs are separate and depend on what the inspector requires – opening walls for structural inspection is the most common addition. Call (888) 343-9048 for a scope walkthrough before you submit to the city.
Yes. Allen regulates ADUs through its zoning code, and both attached and detached ADUs require building permits and zoning review before work starts. Setbacks, lot coverage, and utility connections all fall under city review, and adjacent municipal utility considerations may apply depending on your lot. Our team has managed ADU permitting in Allen extensively and can walk you through the requirements – call (888) 343-9048 for a free consult.
In most cases a bad addition can be repaired rather than torn down, provided the foundation is stable and the structure is sound. The decision tree comes down to four questions: is it moving, is it leaking, is it permitted, and is the envelope performing? If all four are addressable with targeted repair, a rebuild is rarely necessary. Full redos run $140,000 to $220,000 in Allen – targeted repair often comes in far below that. Call (888) 343-9048 for an honest diagnosis before you commit to either path.
The Bottom Line
Addition and ADU problems almost always trace back to a specific skipped phase – design, permitting, framing, or envelope – not to random bad luck. Water at the tie-in is a flashing failure. A hot addition is an HVAC sizing failure. Sticking doors and cracks come from foundation mismatch or framing shortcuts. Unpermitted work surfaces at resale and costs you more than retroactive permitting would have. Fix the root cause, not the symptom. Whether you’re diagnosing inherited work, planning a new build in Allen, or weighing repair against a redo, our team at Groundwork Construction Co. of Allen is glad to walk through it with you – free estimate, upfront pricing, live person on the phone 24/7.
When you’re ready to move on an Allen addition or ADU project – or you need a straight diagnosis on someone else’s work – call (888) 343-9048 for a free estimate. We answer live 24 hours a day, seven days a week. Every project we take on is backed by the 730-Day Done Right Promise – if it’s not done right, we make it right. Upfront pricing, no surprises, and a real conversation about what your project actually needs.
Written by the team at Groundwork Construction Co. of Allen.