Last updated November 18, 2026







Free written scope consultation - allowances, timeline, and change-order rules on paper before a single trade is scheduled
Home Additions & ADU Maintenance Schedule: What to Do and When
Here’s the part nobody tells you at the final walkthrough: the most expensive maintenance failure in a home addition usually has nothing to do with the new construction. It’s the seam where old meets new. That junction, whether it’s a roof transition, a foundation tie-in, or a shared wall, is where water and air get in and quietly damage both structures at once. When we open up a problem area in Allen, it’s almost always a tie-in that wasn’t checked. This guide gives you a real season-by-season calendar for additions and ADUs, points out the inspection zones that actually matter, and explains what to track so small issues don’t turn into structural ones.
Quick Answer
Inspect your addition or ADU four times a year, with the most attention on the roof transition and the foundation tie-in where new construction meets the original house. The non-negotiables are a roof-to-wall inspection each spring and fall, a foundation check each season, HVAC performance readings twice a year, and a full weatherproofing pass on detached ADUs before summer heat and again before winter. Everything else on the calendar is helpful; these four are what protect the investment.
Styles & brands we work with
- Kitchen remodeling
- Bathroom remodeling
- Home additions & ADU
- Roofing
- Windows & doors
- Driveway & pavers
- Fence
Table of Contents
- Why Additions Need Their Own Maintenance Calendar
- The Tie-In Zone: Your Annual Inspection Non-Negotiables
- Roof Transition Zones: Where Additions Leak First
- Foundation Monitoring: Reading the Warning Signs
- HVAC Capacity Drift: Why Year Three Feels Different
- The Season-by-Season Calendar for North Texas
- ADU-Specific Maintenance: Meters, Shared Walls, and Detached Envelopes
- What to Track in a Maintenance Log
Why Additions Need Their Own Maintenance Calendar
An addition isn’t a bigger version of your house. It’s a second structure stitched onto the first, with its own foundation system, its own roof planes, and its own plumbing and electrical paths. That seam between the two is doing work that a single continuous structure never has to do. It moves differently, sheds water differently, and expands and contracts at a different rate.
North Texas makes this harder. Allen sits in a climate that swings from summer stretches well into the triple digits to hard winter freezes that push the clay soil around. Clay expands when it’s wet and shrinks when it dries. An addition built on its own foundation and tied into an existing one is responding to that soil movement on two separate footings at the same time. A home that was built all at once moves as one piece; an addition is two pieces learning to move together.
That’s why a generic home maintenance checklist doesn’t cover you. Those lists tell you to clean gutters and change filters. Useful, sure, but they skip the four things that actually protect an addition: the roof transition, the foundation tie-in, HVAC capacity as it drifts over time, and the envelope on a detached structure. Treat the addition as its own asset with its own service schedule, and you’ll get decades out of it. Skip the tie-in zones, and you’ll be calling us about water damage that started three winters ago.
The rule is simple: the tie-in points are the highest-value maintenance zones on the entire property. Give them priority every single year, and the rest of the calendar falls into place.
The Tie-In Zone: Your Annual Inspection Non-Negotiables
This is the section to read twice. The tie-in zone is wherever the new work meets the original house. Depending on how your addition was built, that includes some or all of these:
- The roof-to-wall transition, where the addition’s roof meets the original roofline or a vertical wall of the original house
- The foundation tie-in, where new footings meet old ones
- Shared walls and the joints around them
- Penetrations where plumbing, electrical, and HVAC lines cross from old to new
- Siding and trim seams on the exterior wall
- Flashing at every one of those junctions
Water and air both find these seams first. A flashing detail that was installed correctly on day one will still fail eventually if the sealant around it dries out and cracks after a few summers. That’s not a construction defect; it’s normal aging of a joint that was never designed to be sealed and forgotten. Checking it once a year and touching up the sealant costs a fraction of what a hidden leak costs.
Here’s the annual tie-in inspection routine we walk homeowners through:
- Walk the interior of the addition and the adjacent original rooms during or right after a heavy rain. Look for water stains along the shared wall, particularly near the ceiling line and above windows.
- Examine exterior sealant and flashing at the roof-to-wall junction. Any cracking, lifting, or gap will need to be addressed before the next rain, not after.
- Look at the siding and trim seams. Check for separation, bubbling paint, or soft wood.
- Check the foundation tie-in from outside. Look for a new crack that’s widened, or a vertical gap where old concrete meets new.
- Feel for drafts along the shared wall inside on a windy day. Air infiltration is the other half of the problem, and it often goes unnoticed because it doesn’t leave a stain.
- Check the ceiling of the addition for any discoloration, especially in the corner nearest the original house.
If you find something, photograph it with a date stamp. Records matter when you need a contractor or an insurance claim. For homeowners in Allen who want a pro to define what’s actually urgent versus what can wait, our Home Additions & ADU in Allen team can walk the tie-in zones with you.
Roof Transition Zones: Where Additions Leak First
The roof is where an addition’s maintenance story gets serious fast. Any addition with a connected roofline has at least one transition, and that transition has a short list of enemies: dried-out sealant, improperly seated flashing, ice-damming from a freeze event, and debris accumulation at the low point where two roof planes meet.
In our experience across Allen, the most common addition leak comes from a low-slope or flat-roof section on the addition meeting the original pitched roof. That junction collects water when the pitch drains the flat section toward the original structure, and if the drainage path backs up, you’ll have water entering exactly where the two roofs meet. The damage is not just the ceiling of the addition; water can travel along the original house’s structure before it drops, so the leak can show up in a room you never expected.
Do these checks each spring and fall:
- Inspect the transition flashing and the sealant around it. If the sealant is cracked, it needs to be redone before winter.
- Clear debris from the valley where two roofs meet. A pile of leaves sitting in the runoff path during a rain event will force water under the flashing.
- Confirm the addition’s gutters and downspouts are clear and are draining away from the foundation, not into the tie-in zone.
- Check for staining on the underside of the roof sheathing in the attic space above the addition, if you have attic access.
- After any significant hail event, have the addition’s roof inspected, not just the original roof. Damage to the addition often gets skipped because it’s a separate plane.
- Look at the shingles at the edges of the addition’s roof for lifting or missing granules. Weathering on an addition roof may happen faster than the main roof if the pitch is lower or the sun exposure is more intense.
If your addition roof is approaching replacement age, that’s a conversation worth having before a leak forces it. GAF and CertainTeed products are the two we use most on addition work in North Texas, and both hold up well against UV and storm damage when installed on a properly prepared deck. If you want that inspection done right, our roofing team handles Allen-area additions regularly.
Foundation Monitoring: Reading the Warning Signs
Foundation issues in an addition look different from foundation issues in a single-build house. The addition has its own footings and was built later, so if the two structures settle at different rates, you get differential settlement at the tie-in. That’s the one that matters. It’s the movement that stresses the joint between old and new, and it shows up first at the openings, not in the foundation itself.
Doors and windows are the best early indicators you have at no cost. When a foundation moves, the frame around an opening racks just enough to change how the door swings.
Watch for these:
- A door in the addition that suddenly sticks in one season and swings freely in another
- Windows that become harder to open or close than they were last year
- New gaps at the hinge side of a door, or a gap that runs down one side and widens at the top or bottom
- Cracks in the drywall that come off the corner of a door or window frame at roughly 45 degrees
- New cracks in the slab or in the exterior brick or siding, especially any wider than a credit card edge
- A slope you can feel underfoot at the threshold where the addition meets the original house
- Separation of caulk or trim at the base of a shared wall
Not every crack is a crisis. Hairline cracks in drywall happen as a house finds equilibrium. What matters is whether a crack is new, whether it’s widening, and whether it’s paired with an opening that’s stopped working right. When door and window performance changes together with a visible crack, that’s your cue to have someone look at it.
That’s the point to call, not the point to panic. We can look at the tie-in, assess whether the movement is settling that will stabilize or a pattern that needs attention, and tell you straight. If you need driveway or drainage work around the addition to move water away from the footings, our Driveway & Pavers in Allen service can address the drainage path before it keeps working on the soil under your addition.
HVAC Capacity Drift: Why Year Three Feels Different
Here’s a pattern we see often in Allen additions. Year one, the new room feels perfect. Year two, it feels a little off in August but you tell yourself it’s the heat wave. By year three, the addition is consistently the warmest room in the house in summer and the coldest in winter, and the original rooms are starting to notice too. Nothing’s broken. The system has drifted.
HVAC capacity drift happens because the system was sized for the home as it stood, and then a new room was added to the load. Additions also have different envelope characteristics than the original build: a different window-to-wall ratio, a different insulation approach, sometimes a slab floor rather than a crawlspace, sometimes a shed roof with less attic buffer between the ceiling and the sun. A system that was at 85% of capacity before the addition might be at 95% after. Fine in a mild spring; not fine in a fully loaded August.
Track these twice a year, in late spring and late fall:
- Room temperature spread. On a hot afternoon, take a reading in the center of the addition and one in an original room. A difference of more than about three degrees that didn’t exist in year one is a capacity signal.
- Run time. Notice how long the system runs to cool the house in the late afternoon. If that number has been creeping up summer over summer, the system is working harder than it used to.
- Filter discipline. A restricted return filter makes the capacity problem worse. Check and replace filters monthly during peak cooling season.
- Air balancing. Check whether the addition’s supply registers are delivering adequate airflow. Sometimes a damper adjustment or a returnair addition solves a lot of the drift.
- Duct leakage. Duct runs that were extended to serve the addition are a common place for leakage. Have the duct joints at the tie-in checked.
- Refrigerant charge and coil cleanliness. Get a professional tune-up on the schedule your manufacturer recommends; a clean outdoor coil and correct charge make the existing capacity count for more.
If room temperature spread has grown year over year, ask for a load calculation rather than guessing on a bigger unit. The fix is sometimes a dedicated mini-split for the addition, sometimes ductwork adjustments, and sometimes a system upgrade. Any of those is cheaper than living with three years of a room that doesn’t work.
The Season-by-Season Calendar for North Texas
Allen’s climate doesn’t politely follow a four-season script. Spring brings severe storms and heavy rain, sometimes with hail. Summer brings long stretches of high heat and dry clay soil. Fall is relatively mild but is your window to prep before the first freeze. Winter brings hard freezes that catch plumbing in exposed addition walls off guard. This calendar is built around that rhythm, not a generic national template.
Spring (March – May): Water Management
- Full roof transition inspection after the last major storm event; check flashing and sealant at every tie-in.
- Check gutters and downspouts on the addition and confirm runoff moves away from the tie-in footings.
- Walk the addition’s exterior for cracks in caulk, siding seams, and window trim, and re-seal as needed.
- Test the sump pump or any drainage you’ve added near the addition, if present.
- Check attic ventilation in the addition and look for moisture staining above the tie-in ceiling.
- Inspect windows for operation and check the weep holes in the frames so they drain.
Summer (June – August): Heat and Cooling Load
- Track the room temperature spread between the addition and the original house weekly; log it against outdoor highs.
- Change HVAC filters monthly, or more often during heavy pollen weeks.
- Inspect exterior paint and stain on the addition’s siding; UV exposure on a south or west-facing addition wall dries out the finish faster than the shaded walls of the original house.
- Check the addition’s attic for radiant heat issues; confirm soffit and ridge vents are clear and not blocked by added insulation.
- Water the soil around the addition’s foundation slowly and consistently during dry spells. In North Texas clay, uniform moisture matters more than any single deep soaking.
- Verify the addition’s exterior doors still close properly; summer swelling sometimes reveals a door that hasn’t sealed correctly since spring.
Fall (September – November): Freeze Prep
- Re-inspect roof transitions and clear any leaf accumulation from valleys and behind chimney or wall junctions.
- Do a full envelope check on detached ADUs, including roof, gutters, and caulk at corners and seams.
- Check insulation and weatherstripping around addition windows and doors; identify drafts before they cost you on heating bills.
- Have the HVAC system serviced; tune-ups in fall catch aging parts before the heating season starts.
- Drain and insulate exterior hose bibs and any plumbing that runs through an exterior wall of the addition.
- Inspect the ADU’s exterior piping and any outdoor kitchens before the first freeze.
Winter (December – February): Freeze Watch and Indoor Review
- During any hard freeze, check the addition’s plumbing supply lines for cold air exposure, especially if they run along an exterior wall.
- Note any door or window that starts to stick; winter movement is often the first sign of foundation settlement worth tracking.
- Check for ice dams at the addition’s roof if snow lingers; the addition’s lower-slope roof is more vulnerable than the original if the attic insulation was increased without adjusting ventilation.
- Walk the shared-wall interior with a flashlight on overcast days and look for any new staining.
- Check all smoke and carbon monoxide detectors in the addition and ADU, and clean dryer vents if an ADU has laundry.
- Review your maintenance log and note anything that needs attention in spring, so it isn’t forgotten.
ADU-Specific Maintenance: Meters, Shared Walls, and Detached Envelopes
An accessory dwelling unit in Allen brings its own maintenance layer. Because an ADU can be a detached structure, an attached structure, or a conversion of an existing space, the maintenance priorities differ depending on which type you have. A detached ADU is essentially a small house sitting on the same lot, and it needs the same attention you’d give a house twice its size.
Separate Utility Meter Reads
If your ADU has its own meters, read them monthly and write the numbers down. The value isn’t in the numbers on a normal day; it’s in what a change tells you. A jump in water use with no change in occupancy signals a leak somewhere in the ADU’s plumbing, and you’ll catch it months before it reaches the floor or a shared wall. An electrical jump can point to an appliance or an HVAC component degrading. Even if the utility bill is included in the ADU’s rent, get the reads and keep the record.
Shared Wall Performance
An attached ADU shares at least one wall with the main home, and that wall has a job beyond structure: it has to control sound, moisture, and air. Check it each season. Run a hand along the base of the wall and look for any staining. On the ADU side, look at the paint and drywall for bubbling or discoloration. Listen for new sounds (a gurgling water line, a rattle, a vibration) that weren’t there before. Seal any new gaps in the trim or caulk at the baseboard. Sound transmission going up over time is often a sign a joint has loosened.
Detached Structure Envelope in North Texas Heat
A detached ADU takes the full load of the sun on all four sides and the roof, in a climate where summer surface temperatures on a south-facing wall can climb well above the air temperature. That means the exterior finish, whether paint, siding, or stain, needs inspecting every year with re-coating on a schedule the finish manufacturer recommends, not the same schedule as the main house’s shaded walls. In our experience building in Allen, a detached ADU on a full-sun exposure should get its exterior paint checked annually and re-coated every five to seven years, depending on the finish and orientation. Roofing products like Boral or PGT-clad window systems hold up well on a detached ADU when installed and maintained as specified; having a pro who knows the product do the inspection pays for itself over the life of the structure.
What to Track in a Maintenance Log
A maintenance log turns a murky “it feels like it’s been getting worse” into a defensible record. It’s also the document that tells a contractor exactly what happened and when, which shaves time and money off any repair visit. Here’s what we recommend tracking:
- Seasonal inspections. Date, who did the work (you or a pro), and a note for what was checked with no issues.
- Photos with date stamps. Every tie-in, roof transition, and foundation corner, taken annually from the same angle. A series of photos will show a widening crack more clearly than a single image ever could.
- HVAC room temperature readings. Twice yearly, on a hot afternoon and a cold one, so you can see the spread over time.
- ADU utility meter reads. Monthly if you have separate meters.
- Repairs and maintenance work done. What was fixed, when, by whom, and any warranty attached. Keep receipts.
- Filter changes, gutter cleanings, and sealant touch-ups. Routine but the ones most likely to be forgotten and most likely to matter.
If you’ve just moved into an Allen home with an existing addition, start the log now. You don’t need a history to protect the future. A single year of records is enough to spot drift, and once you have two years, you’ll see patterns a contractor can actually work with.
Common Mistakes to Avoid
- Treating the addition like the rest of the house. The addition has different movement, different sun exposure, and different joints. A generic home maintenance checklist skips the tie-in zones entirely, and those are exactly the places that fail first.
- Skipping the addition on the roof inspection. After a hail event, Allen homeowners often call for the original roof and forget the addition’s separate plane. That lower-slope addition roof is where damage hides.
- Assuming the HVAC is fine because it runs. Capacity drift doesn’t announce itself with a breakdown. It shows up as a room that worked three years ago and doesn’t now. Track the temperature spread and you’ll catch it.
- Patching a foundation crack without understanding it. Filling a cosmetic crack is fine; filling a structural one hides the evidence that would tell a professional whether you have an active settlement issue. Photograph before you patch.
- Ignoring door and window performance changes. A door that suddenly sticks is one of the earliest, free signals of differential settlement. Waiting for a visible crack to appear before calling means the problem had months to develop.
- Letting a detached ADU’s exterior coating run long. Full sun on a south or west face dries and cracks exterior finish faster than on the main house. Re-coating on the finish manufacturer’s schedule protects the siding behind it.
- Not tracking separate ADU meter reads. A small plumbing leak in a detached ADU will not show up in a shared water bill. Monthly reads are how you catch it before it reaches a wall or floor.
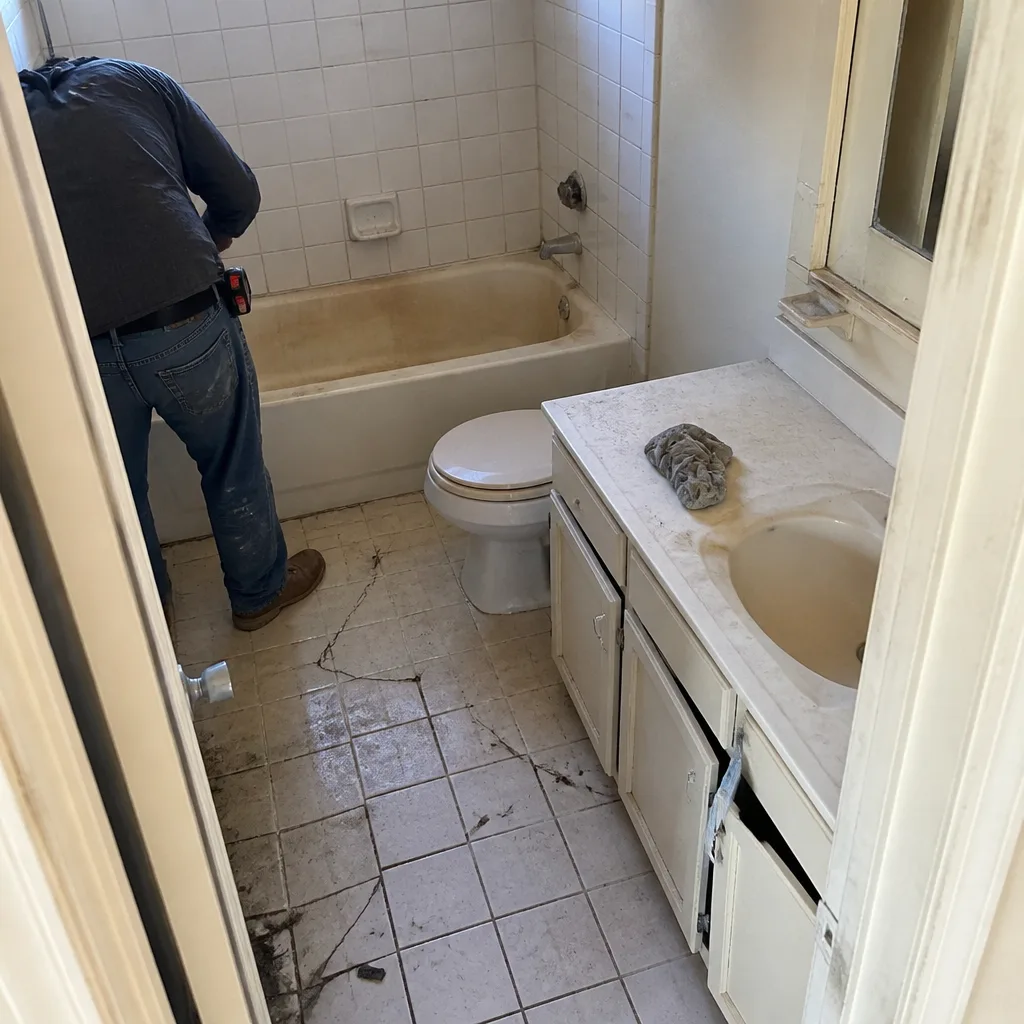
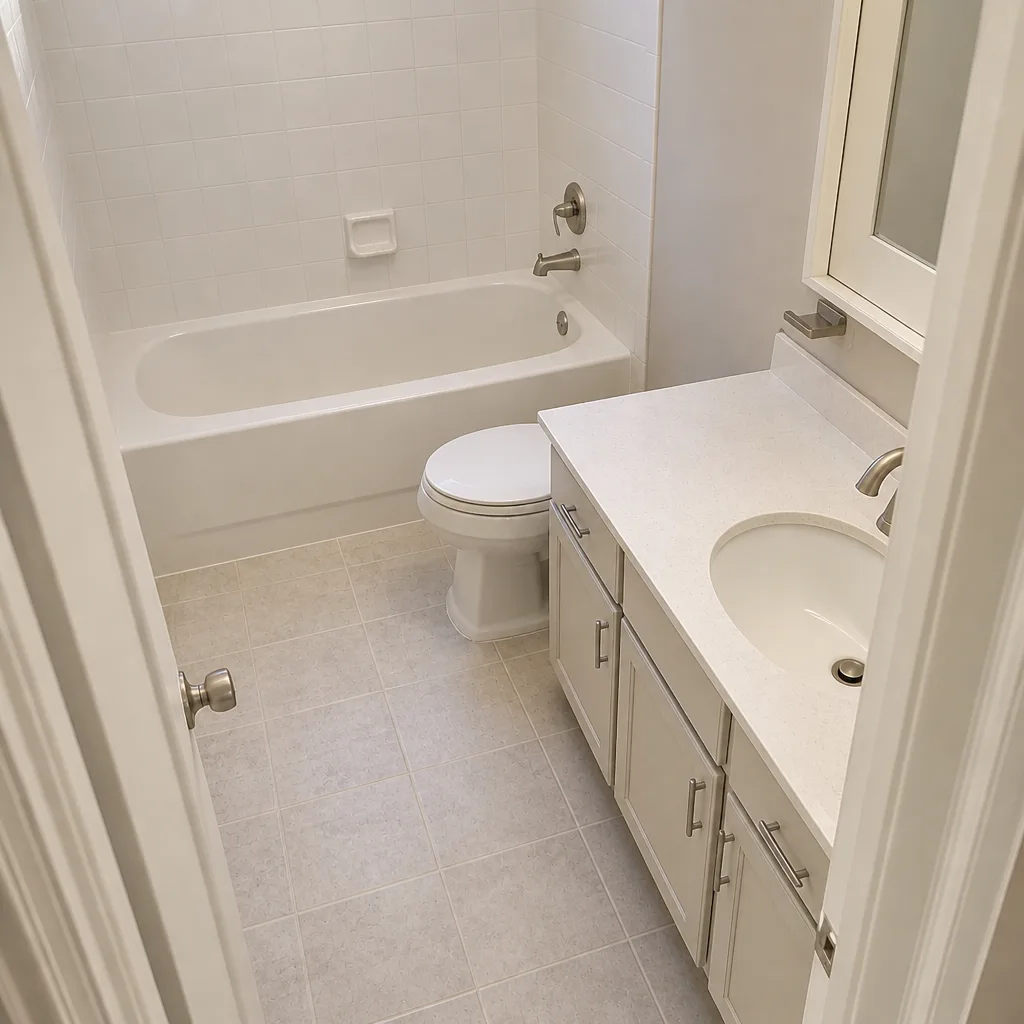
See the difference
 Before
 After
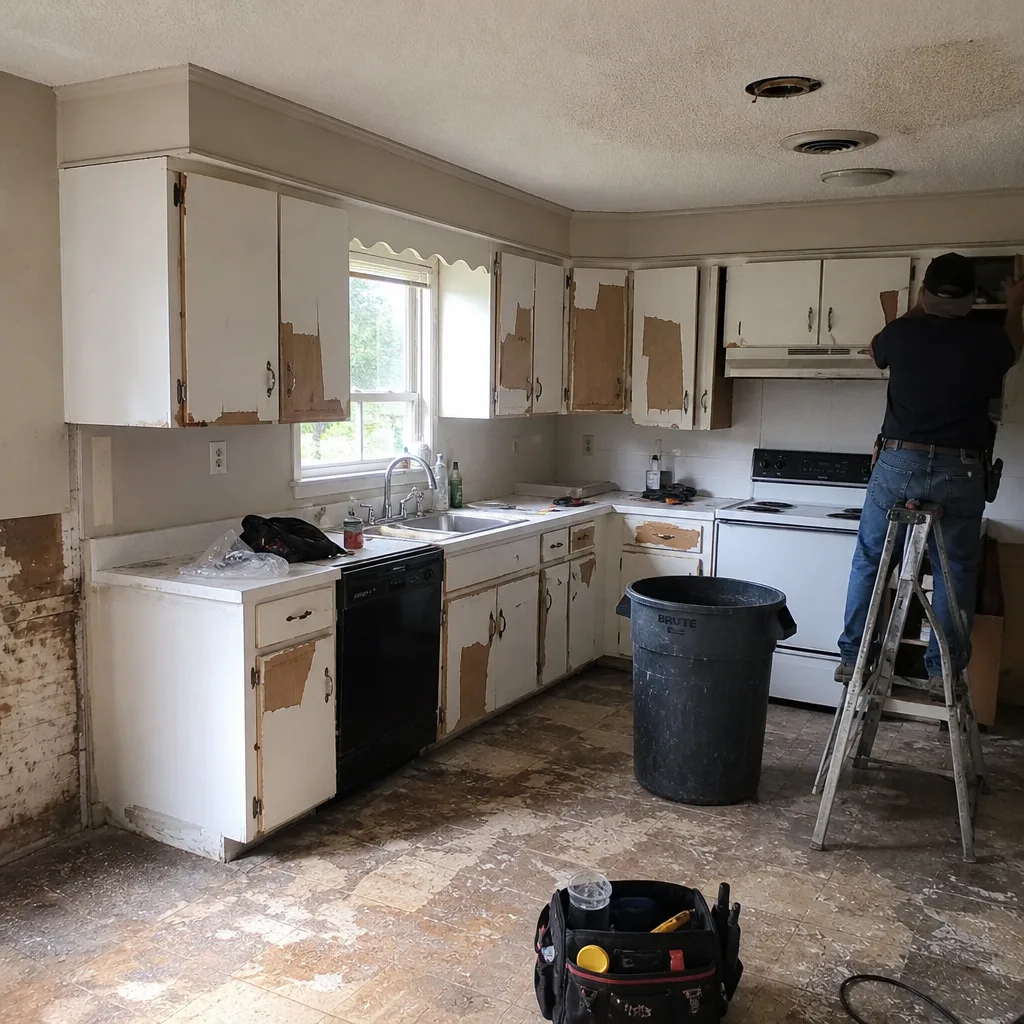 Before
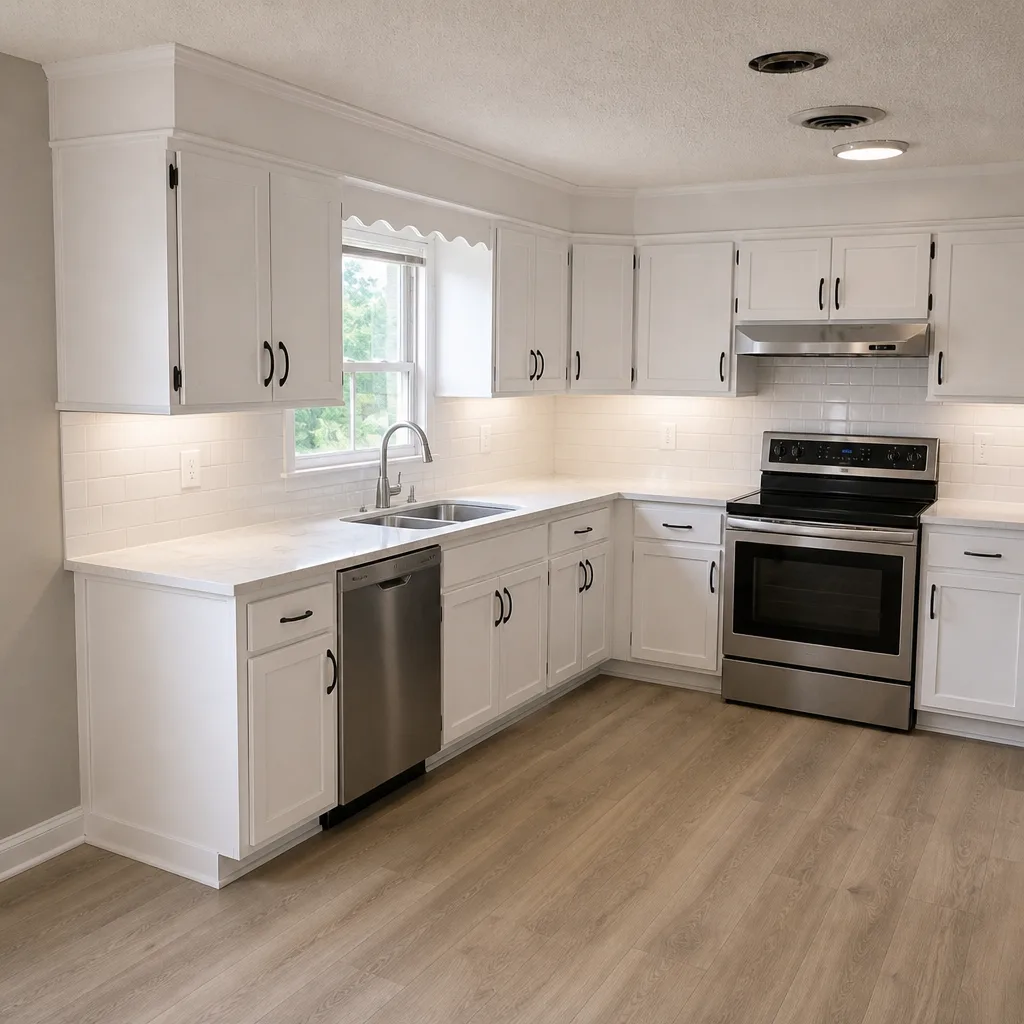 After
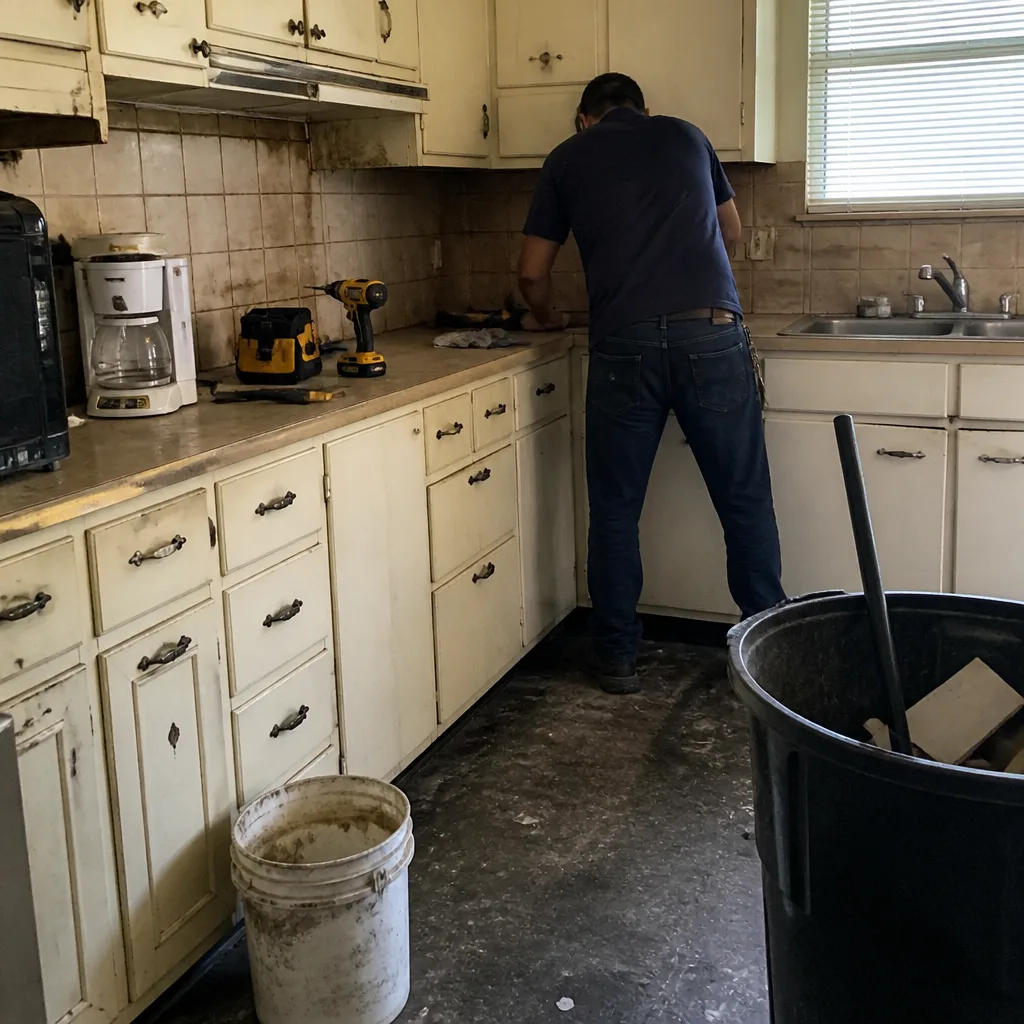 Before
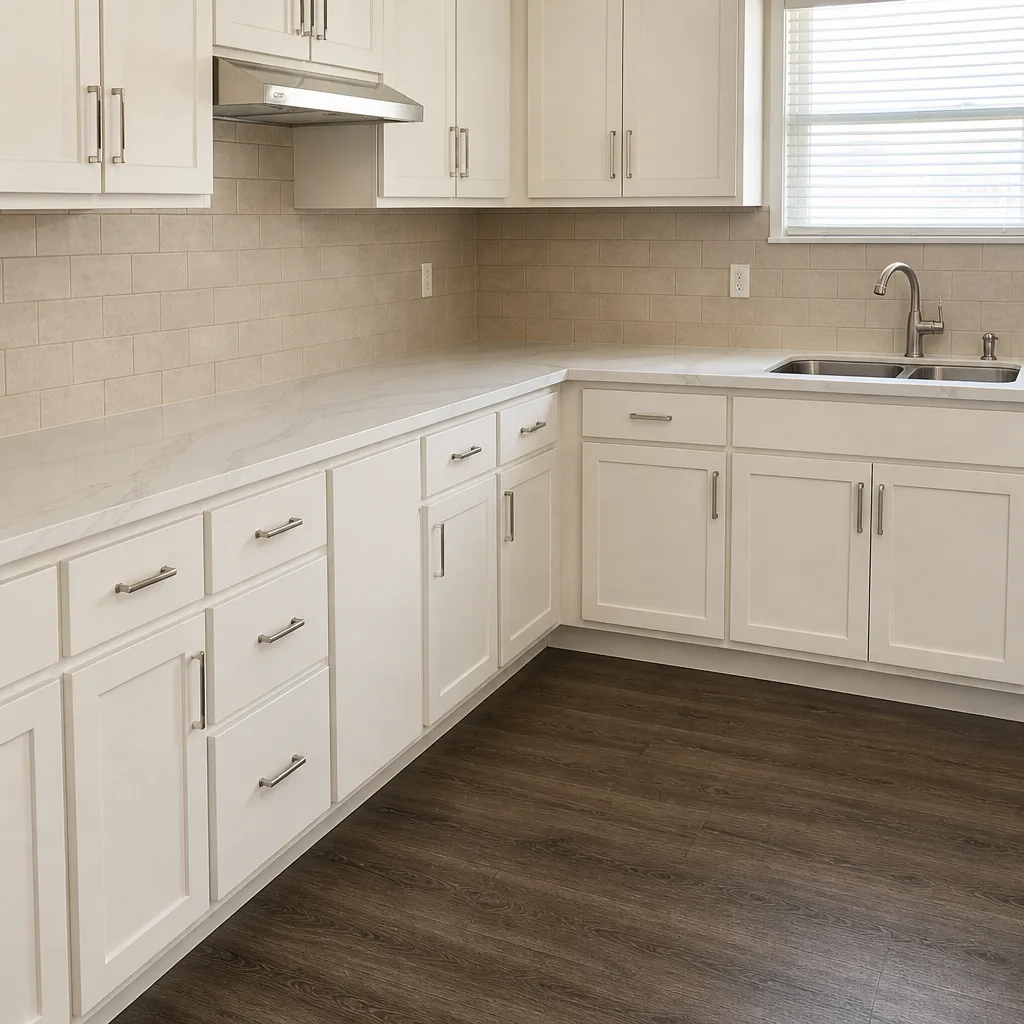 After
When to Call a Professional
Some maintenance is a homeowner’s job: filters, gutters, sealant touch-ups, and log updates. Here’s when to bring in a pro.
Call when water is getting in and you can’t trace it, especially if the stain appears along the shared wall or the ceiling near the tie-in. Call when a door or window in the addition has stopped working right and it’s paired with a visible crack, because that’s the pattern that says “have the foundation evaluated,” not “adjust the hinges.” Call after any major storm if the addition’s roof has a lower slope or a complex transition, because the leak won’t show up until it’s already done damage. Call before you re-roof or re-side the original house if the addition’s roofline ties in, because the two structures have to be detailed together. And call if your HVAC room temperature spread has grown by more than a couple of degrees over prior years.
Groundwork Construction Co. of Allen offers free estimates in Allen. Our technicians have up to 12 years of experience, arrive background-checked and in uniform, and back every project with our 730-Day Done Right Promise and no-hassle upfront pricing. Call (888) 343-9048.
Frequently Asked Questions

Four times a year, with the roof transition and foundation tie-in on each pass. Spring and fall are the two must-do inspections for roof and envelope, and late spring and late fall are when you check HVAC performance. In Allen, add a specific check after any significant hail or windstorm, since spring storms here can damage the addition’s roof separate from the original house.
The roof-to-wall transition is the highest-priority item on the entire addition. It’s where water finds the smallest gap and where damage travels along the original structure before it shows up. Check the flashing and sealant there twice a year, clear debris from the valley, and address any cracking immediately. Everything else on the calendar protects something; the roof transition protects everything.
Watch the doors and windows first. If a door in the addition has started sticking in one season and swinging fine in another, or a window is harder to open than it used to be, that’s the earliest signal. Pair that with any new drywall crack coming off a door corner at roughly 45 degrees or a new crack in the exterior finish, and it’s worth a professional look. Not every crack is an emergency, but the door-window-crack combination is the pattern to take seriously.
HVAC capacity drift. The system was sized for the original home, and the addition added load that may have pushed it near its limit. Combined with a different envelope on the addition, that produces a room that was fine in year one and isn’t by year three. Track the temperature spread twice a year, keep the filters clean, and have a pro evaluate air balancing, duct leakage, or a dedicated unit for the addition before you assume the fix is a bigger system.
Yes, mainly for the exterior. A detached ADU in Allen gets full sun on all four sides and the roof, so its exterior finish, windows, and roof inspect on a tighter schedule than the shaded walls of the main house. If the ADU has separate utility meters, read them monthly. If it shares a wall with the main house, check that wall each season for moisture, sound changes, and separation.
Yes. We inspect and repair additions and ADUs built by others, and we walk tie-in zones on homes across Allen whether or not we built the addition. Our free estimate covers what we find and what we’d recommend; you decide from there. For anything on the roof transition or the foundation tie-in, it’s worth having it looked at by a pro rather than waiting for a leak or a stuck door to make the decision for you. Call (888) 343-9048 for a free estimate.
The Bottom Line
An addition is two structures learning to move together, and the seam between them is where the money goes if you don’t watch it. Inspect the roof transition and the foundation tie-in every spring and fall. Track HVAC room temperature spread so you catch capacity drift before it’s a comfort crisis. Read ADU meters monthly if you have them, and re-coat a detached ADU’s exterior on the finish manufacturer’s schedule, not the main house’s. Keep a dated log with photos. Do these four things every year and you’ll get forty years of value out of what you built. Skip them, and the tie-in will decide for you. If your addition’s maintenance has been on autopilot, we can pick up the calendar with you. From Groundwork Construction Co. of Allen home to finish line, we’re the construction partner for homeowners who want a straight answer and a guarantee in writing. If you’re planning new construction on your property, our Fence Installation in Allen team can handle the site work, and our additions team handles everything from foundation to final walkthrough. Call (888) 343-9048 to schedule your free estimate and design consult.
Written by the team at Groundwork Construction Co. of Allen.