Last updated November 18, 2026
Free written scope consultation - allowances, timeline, and change-order rules on paper before a single trade is scheduled
DIY vs Professional Windows & Doors: What’s Safe to Do Yourself
Installing a window yourself doesn’t void the product warranty. Installing it out of level by more than the manufacturer’s tolerance does, and most homeowners don’t own the tools to verify that during install. That single fact splits this whole category in two: some window and door work genuinely belongs in your hands, and some of it will cost you thousands if you get it wrong. In this guide we walk through a task-by-task breakdown of what’s safe to tackle solo, what the flashing problem really costs, what Allen permitting requires, and how the real DIY cost math works once you add up tools and time.
Quick Answer
Hardware replacement, weatherstripping, interior casing, and exterior caulking are genuinely DIY-safe. Full-frame replacement, rough opening modification, and anything that touches structural framing or the exterior weather barrier are not. The line isn’t about difficulty – it’s about energy code, structural integrity, and manufacturer warranty, and DIY work that crosses those lines creates problems that show up years later.
Styles & brands we work with
- Kitchen remodeling
- Bathroom remodeling
- Home additions & ADU
- Roofing
- Windows & doors
- Driveway & pavers
- Fence
Table of Contents
- The Task-by-Task Breakdown: What’s Actually Safe
- DIY-Safe Window and Door Tasks (And How to Do Them Right)
- The Jobs You Should Never DIY
- The Flashing Problem: The #1 DIY Failure
- Allen Permits and the Liability You Carry
- How DIY Affects Your Manufacturer Warranty
- The Honest DIY Cost Calculation
- Common Mistakes to Avoid
The Task-by-Task Breakdown: What’s Actually Safe
The window and door category is broader than most homeowners realize. There’s a wide gap between swapping a lock set and replacing a full frame, and that gap is where the DIY-safe line lives. Here’s the honest split.
Genuinely DIY-safe:
- Replacing door hardware (locks, handles, deadbolts)
- Installing or replacing weatherstripping on doors and operable windows
- Interior casing and trim work after professional installation
- Exterior caulking maintenance (with the right product and prep)
- Replacing window screens and screen frames
- Adjusting door strike plates and hinges
- Painting or staining existing window and door frames
Requires a professional:
- Full-frame window replacement (removes the entire existing frame)
- Pocket replacement where the rough opening needs modification
- Any new window or door installation cut into existing wall
- Rough opening changes for a different size unit
- Sliding door replacement and door frame repair
- Window and door installations requiring a permit in Allen
- Flashing and weather barrier integration
The reason interior casing is on the safe list while exterior flashing is not comes down to what’s behind the work. Interior trim sits in a conditioned space – if you get it wrong, it looks bad. Exterior flashing sits behind siding in the wettest, most exposed part of your wall assembly – if you get it wrong, your wall framing rots, and you won’t know for two to five years. That asymmetry decides the whole question.
DIY-Safe Window and Door Tasks (And How to Do Them Right)
A lot of window and door work is closer to routine maintenance than construction. Here’s where you can save real money with confidence.
Hardware Replacement
Swapping a deadbolt, handleset, or window lock is the safest job on this list. The key is matching the backset (typically 2-3/8″ or 2-3/4″) and the mortise pattern if the existing hardware uses one. Photos of the door edge before you shop prevent the most common return trip.
Weatherstripping
Worn weatherstripping is one of the biggest culprits behind the North Texas energy bill complaints we hear about in Allen every summer. Foam tape, V-strip, and door sweeps all install with a putty knife and ten minutes per opening. The trick is cleaning the substrate first – adhesive won’t stick to a dusty jamb.
Interior Casing
Casing after a professional installation is a clean DIY job. Bumping up a paint grade to a wider profile or replacing dated trim adds visible value and only requires a miter saw, a nail gun, and patience with corner joints.
Exterior Caulking Maintenance
Caulking the perimeter of a window or door once a year in late spring, before peak summer heat, prevents water intrusion at the most common entry point. Use a paintable exterior-grade sealant, not interior caulk, and back it with backer rod if the gap is wider than a quarter inch.
Screen and Screen Frame Replacement
Re-screening a window is a $20 job with a spline tool and a roll of mesh. It’s also one of the first things a buyer notices at showing.
For homeowners in Allen looking at larger exterior upgrades at the same time, our team also handles driveway and pavers in Allen, which often gets tackled in the same weekend push as window maintenance.
The Jobs You Should Never DIY
If you only take one section of this guide to heart, make it this one. The window and door work on this list has one thing in common: when it fails, the repair costs more than the original professional installation.
- Full-frame window replacement. This removes the interior and exterior stops, the entire old frame, and any rotted wood around the rough opening. If you find rot you didn’t expect, you’re suddenly replacing structural framing on the spot.
- Any new window or door cut into existing wall. That means cutting through exterior siding, removing interior drywall, adding a header, and reintegrating the weather barrier. This is framing work, not finish work.
- Sliding door replacement. Sliding doors carry more weight and require more precise sill leveling than any other residential door. A sill that’s off by a quarter inch leaks water for a decade before you see the damage.
- Rough opening modification. Changing a rough opening means altering structural framing and, in Allen, likely triggers a building permit and inspection.
- Anything involving tempered glass. Windows near doors, in bathrooms, or below a certain sill height require tempered or safety glass. Ordering the wrong unit and installing it creates a code violation no inspection will pass.
- Bay and bow window replacement. These units cantilever off the wall framing and rely on correct structural tie-in. Getting this wrong is a structural failure, not a cosmetic one.
The Texas heat makes one more point worth stating: in Allen, exterior work in July and August pushes sealants and flashing adhesives past their workable temperature window on a south or west exposure. A professional crew works around this by scheduling. A homeowner starting on a Saturday afternoon usually can’t.
The Flashing Problem: The #1 DIY Failure
Ask any contractor what the most DIY-failed component of a window installation is and you’ll get the same answer every time: flashing. Not the unit, not the frame, not the glass – the flashing.
Flashing is the layered waterproofing system that sits behind the siding and wraps the top, sides, and bottom of the rough opening. Done correctly, water that gets behind the siding drains down and out through the sill pan. Done incorrectly, water sits against the wall sheathing and framing, and it stays there.
What makes flashing so easy to get wrong:
- The upper flashing must lap over the side flashing at the correct angle – get the layer order wrong and water channels back into the wall.
- Self-adhesive flashing tape needs a clean, dry substrate to bond. Dust, moisture, or cold weather kills the bond silently.
- Flashing has to integrate with the house wrap, not sit on top of it as decoration.
- Most homeowners don’t own a moisture meter, so they can’t check the wall cavity before closing it back up.
Here’s what we’ve seen in Allen after a bad flashing job: nothing. For two to five years. Then a soft spot at a baseboard, or bubbling paint on the interior drywall, or a musty smell near the window. By then, the repair involves opening the wall, replacing sheathing, and sometimes replacing the framing around the opening. On a single window that repair runs several thousand dollars – well past what a professional installation would have cost. Multiply by every window on the elevation and the math gets ugly fast.
The reason this failure pattern is so common isn’t that folks are careless. It’s that window flashing is a completely hidden system. You can’t see it fail. You only see the symptom years later, and by then the warranty window on “you should have called us” has closed. For homeowners looking at larger wall assembly work, our home additions and ADU in Allen team handles flashing and weather barrier integration as part of the broader envelope, not an afterthought.
Allen Permits and the Liability You Carry
Permit requirements vary by jurisdiction, and Allen is no exception. Here’s the practical reality: any window or door work that alters the structural framing, the rough opening size, or adds a new opening to an exterior wall almost always requires a building permit. Like-for-like replacement of a same-size window in an existing opening often does not, but the determination is made by the Allen Building Inspections team, not by the homeowner and not by the contractor guessing.
What that means for a homeowner considering DIY:
- An unpermitted job that changes structure isn’t grandfathered in. It carries forward until someone fixes it.
- If you ever sell the home, the buyer’s inspector will look at the work, and a title or disclosure issue can stall a closing.
- If your homeowner’s insurance receives a claim tied to the work (water intrusion, wind damage, rot), the carrier can investigate whether permits were pulled and whether the installation met code.
- A failed inspection on a subsequent sale often triggers the seller to open walls and costs more than the original installation.
What we tell Allen homeowners is simple: pull the permit if there’s any doubt, or use a professional who pulls it for you. Groundwork Construction Co. of Allen pulls permits and passes inspections on every project that requires them. It’s not a service upsell – it’s the difference between a job that closes clean at resale and one that follows the house down the street.
The other liability angle is the invisible one: energy code compliance. Allen follows Texas energy code requirements for fenestration (windows and doors). When a permitted installation is done, the inspector can check U-factor and solar heat gain coefficient (SHGC) on the unit labels. When a homeowner installs a non-compliant unit, that check never happens – until a resale inspection, an energy audit, or a title review catches it.
How DIY Affects Your Manufacturer Warranty
Here’s where the opening of this guide comes back. Window and door manufacturers – Andersen, Marvin, Pella, and dozens of others – warrant the product. They specify the installation standard separately, and in most cases the warranty is voided if the unit wasn’t installed to the manufacturer’s published installation instructions.
Those instructions live in documents most homeowners never open. They specify:
- Max out-of-level and out-of-plumb tolerance (often 1/8″ per 3′ of run – a tolerance almost no homeowner can verify mid-install without a laser level)
- Correct shimming pattern to prevent frame distortion
- Required fastening schedule (anchor type, spacing, edge distance)
- Flashing method and required products
- Moisture barrier integration layer order
Manufacturers don’t hide this. It’s the standard document you skipped when you skimmed the box. But if a claim comes in for a fogged insulated glass unit, a warped sash, or a delaminated frame, the first question the warranty department asks is whether the installation followed the standard. If there’s no documented installation by a licensed installer, the claim is often denied before the unit is even examined.
Groundwork Construction Co. of Allen installs Andersen and Marvin windows as a brand partner, and every install follows the manufacturer’s published standard. Every project is covered by our 730-Day Done Right Promise – if it’s not done right, we make it right. That covers the installation standard question entirely, which no DIY install can match.
The Honest DIY Cost Calculation
A lot of DIY window installation decisions are made on the sticker price of a single unit versus a single professional install quote. That’s not the real math. Here’s what the honest calculation looks like on a typical pocket replacement window in Allen.
The DIY Side of the Ledger
- Window unit: $275-$650 depending on size and glass package
- Tool rental (laser level, oscillating multi-tool, extension ladder): $120-$250
- Flashing tape, caulk, and sealant: $45-$80
- Shims, fasteners, contractor-grade materials: $20-$40
- Potential spoiled unit from install error (realistic on first-ever attempt): 20-40% chance on at least one window
- Time investment: 4-8 hours per window for a first-timer doing it right
Two windows and a door later, the DIY total lands somewhere around 70-80% of a professional quote that includes labor, warranty, permits, and haul-away. On most jobs, the true savings gap narrows in a way most homeowners never priced in.
The Professional Side of the Ledger
- Unit and installation: one line-item price
- Measurement risk: covered by the installer (measured wrong, replaced at their cost)
- Permit pull and inspection: handled
- Flashing and weather barrier integration: included by standard, not as an upgrade
- 730-Day Done Right Promise: covers workmanship
- Haul-away and disposal: included
- No-hassle upfront pricing – the number you see is the number you pay
Add in the fact that the average homeowner’s time is worth something, and that a single voided warranty claim erases any savings from a weekend of DIY, and the calculus gets clearer. Groundwork Construction Co. of Allen also offers 0% financing for 18 months, and $1,000 off projects over $10,000, which closes the gap further. The pricing gap that once justified DIY on window installations has mostly closed.
If you’re planning on tackling multiple exterior upgrades at the same time – window replacement alongside other exterior work – it’s worth looking at our fence installation in Allen page as well, since exterior upgrades done in the same project can save mobilization and permit rounds.
Common Mistakes to Avoid
- Skipping the moisture meter check before install. In Allen, we see plenty of homes where a 5-year-old window replacement has already failed because the wall cavity behind it was already damp. Dry-check before install, every time.
- Using interior caulk on an exterior joint. It shrinks, cracks within a season, and opens a path straight into the flashing. Only use exterior-grade, paintable sealant.
- Installing on a slab without checking sill pan slope. Doors especially need the sill to drain outward. A homeowner who sets the door plumb but forgets sill slope deals with water intrusion every rain.
- Skipping the manufacturer installation document. This single mistake is behind most of the voided warranty claims we’ve seen walk through Allen doors. The document exists; the assumption that “windows install the same way” doesn’t survive it.
- Not pulling a permit before cutting a new opening. Allen requires one, and skipping it costs more to fix than to have done. The permit exists to protect the structure, and it comes due at resale either way.
- Ignoring attic and crawl-space envelope. Replacing a window without addressing the surrounding air sealing is like buying a good pane and venting the wall around it.
- Ordering the wrong glass package for the exposure. South- and west-facing windows in Allen need different SHGC values than north-facing, and homeowners rarely match the unit to the exposure correctly.
See the difference
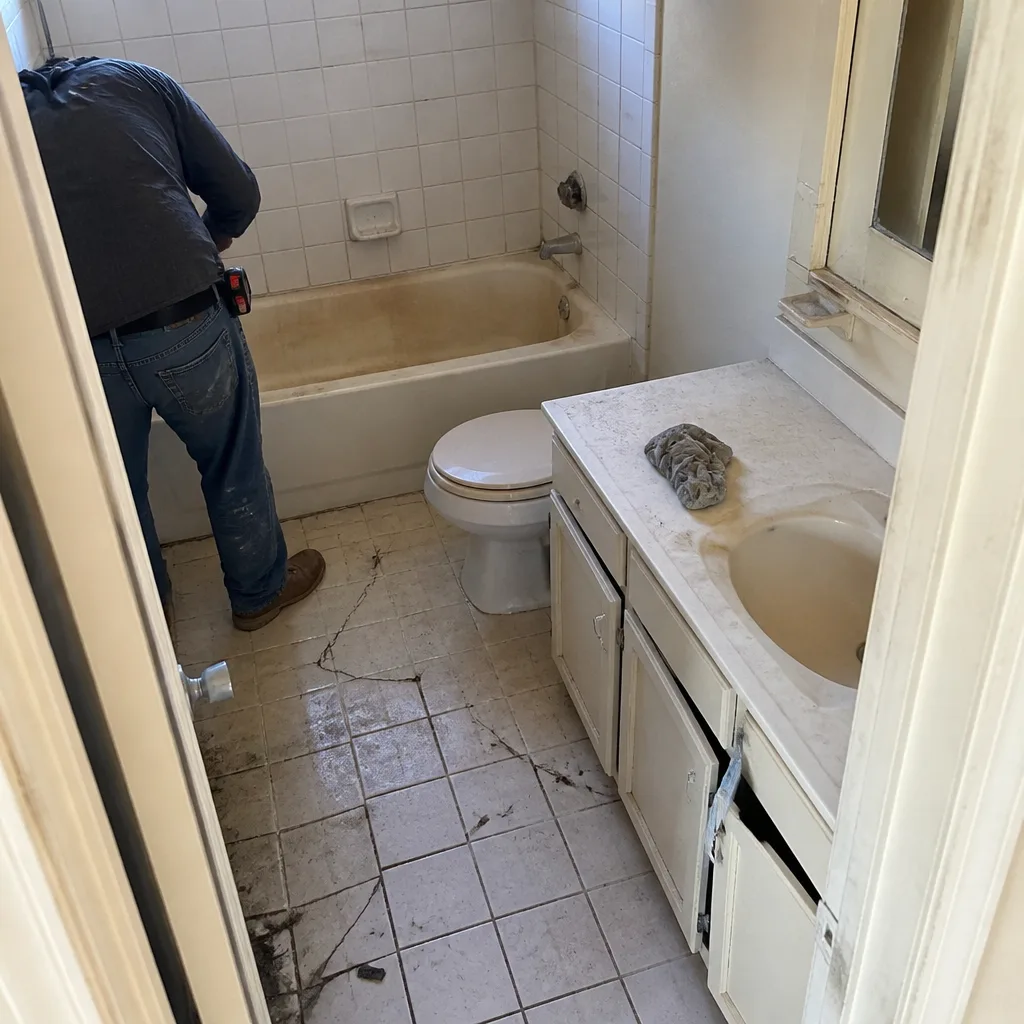 Before
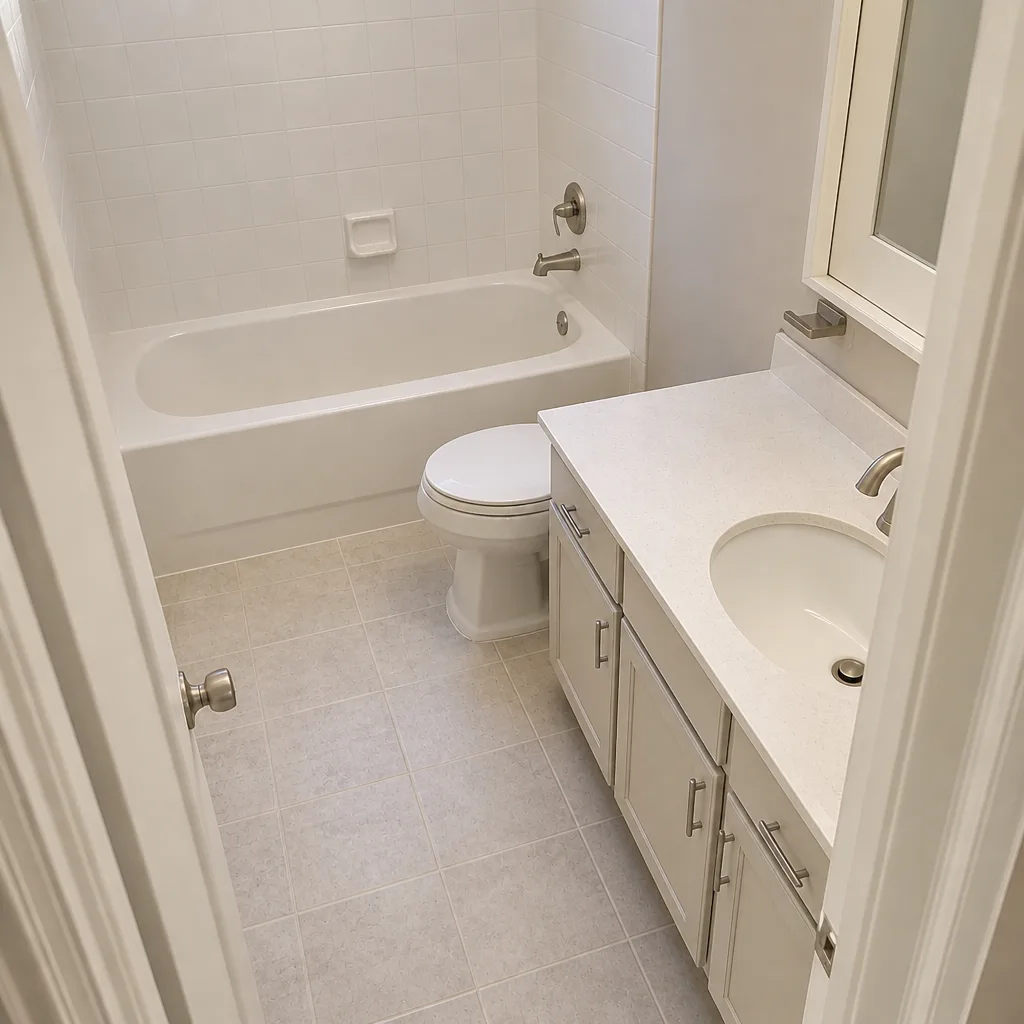 After
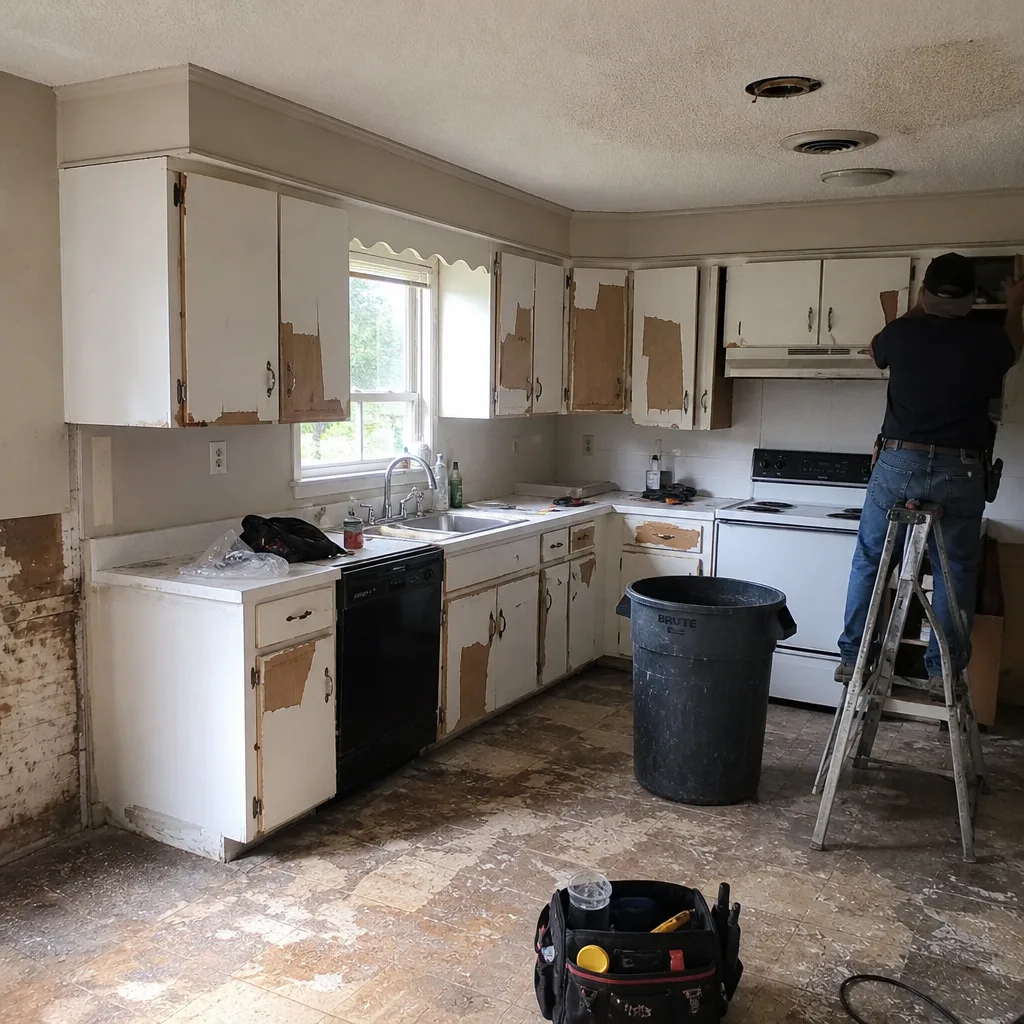 Before
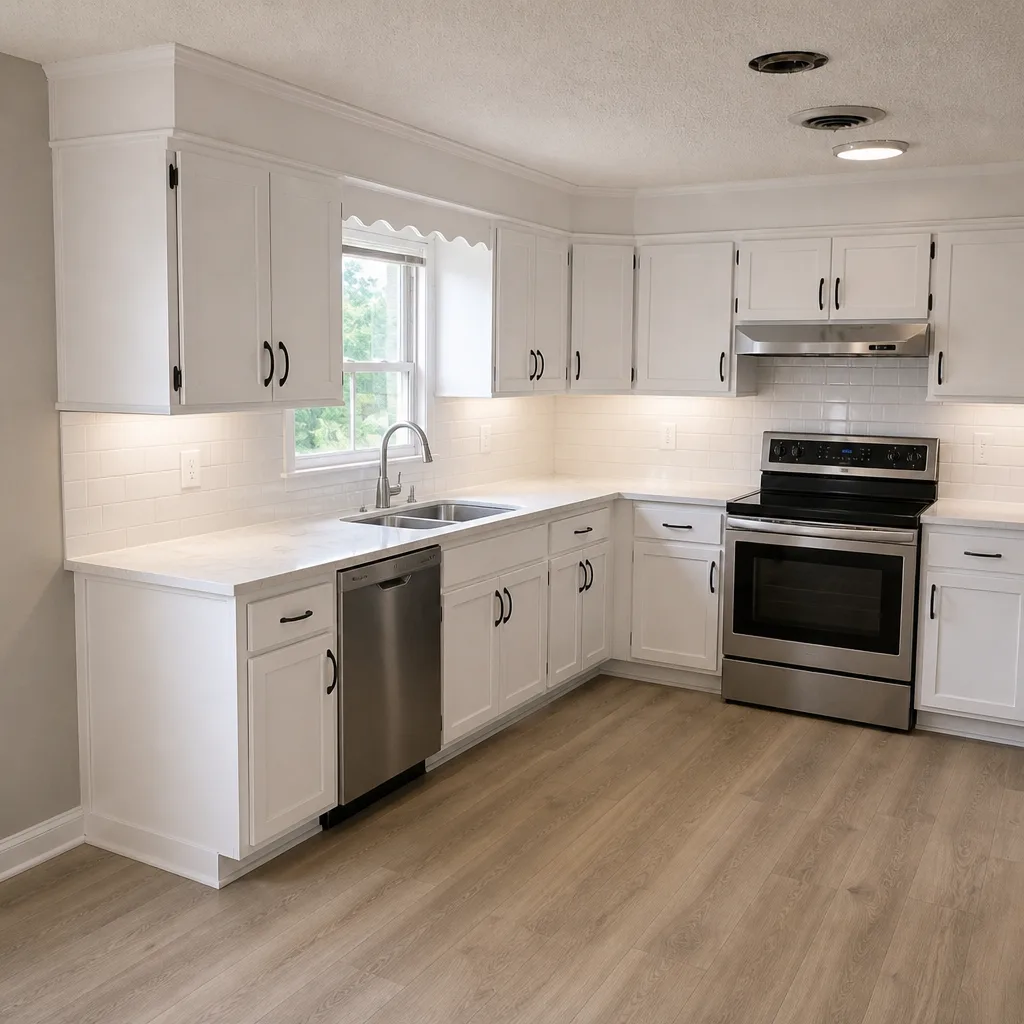 After
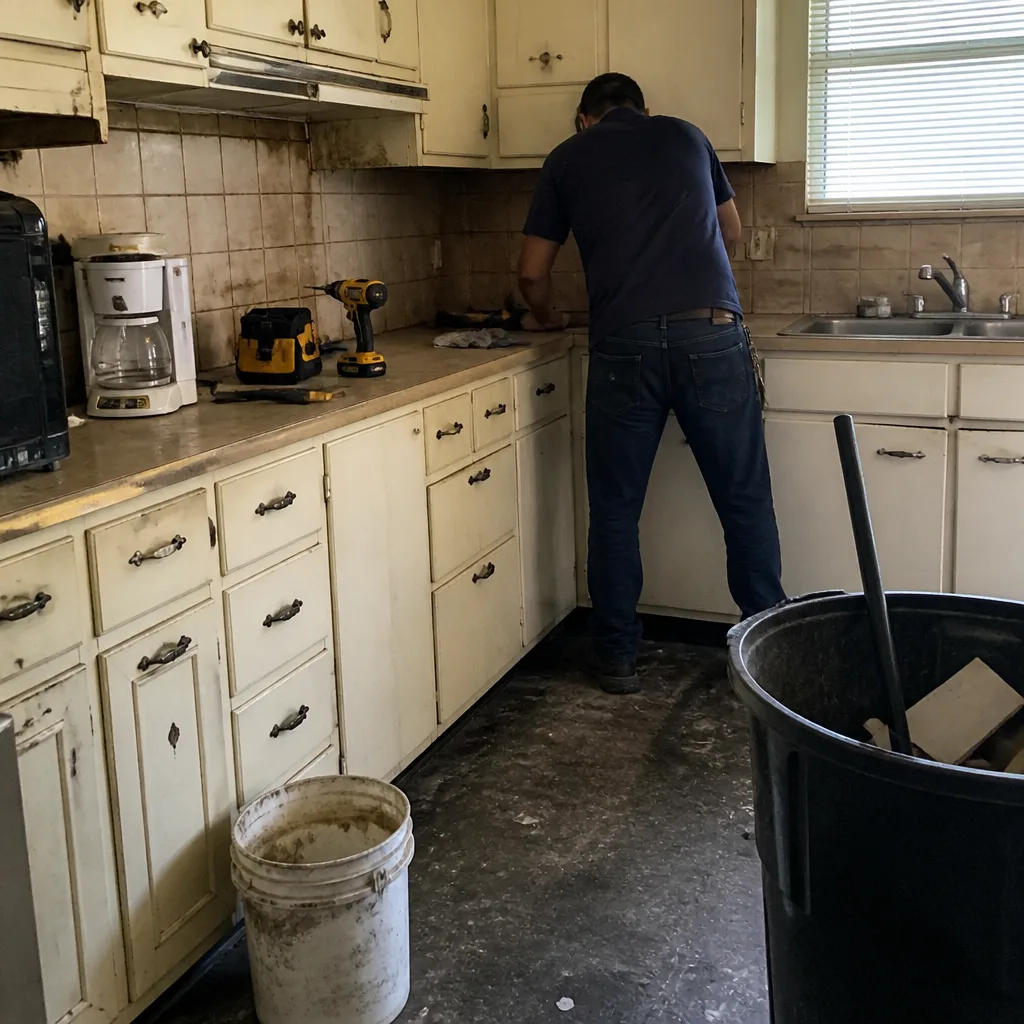 Before
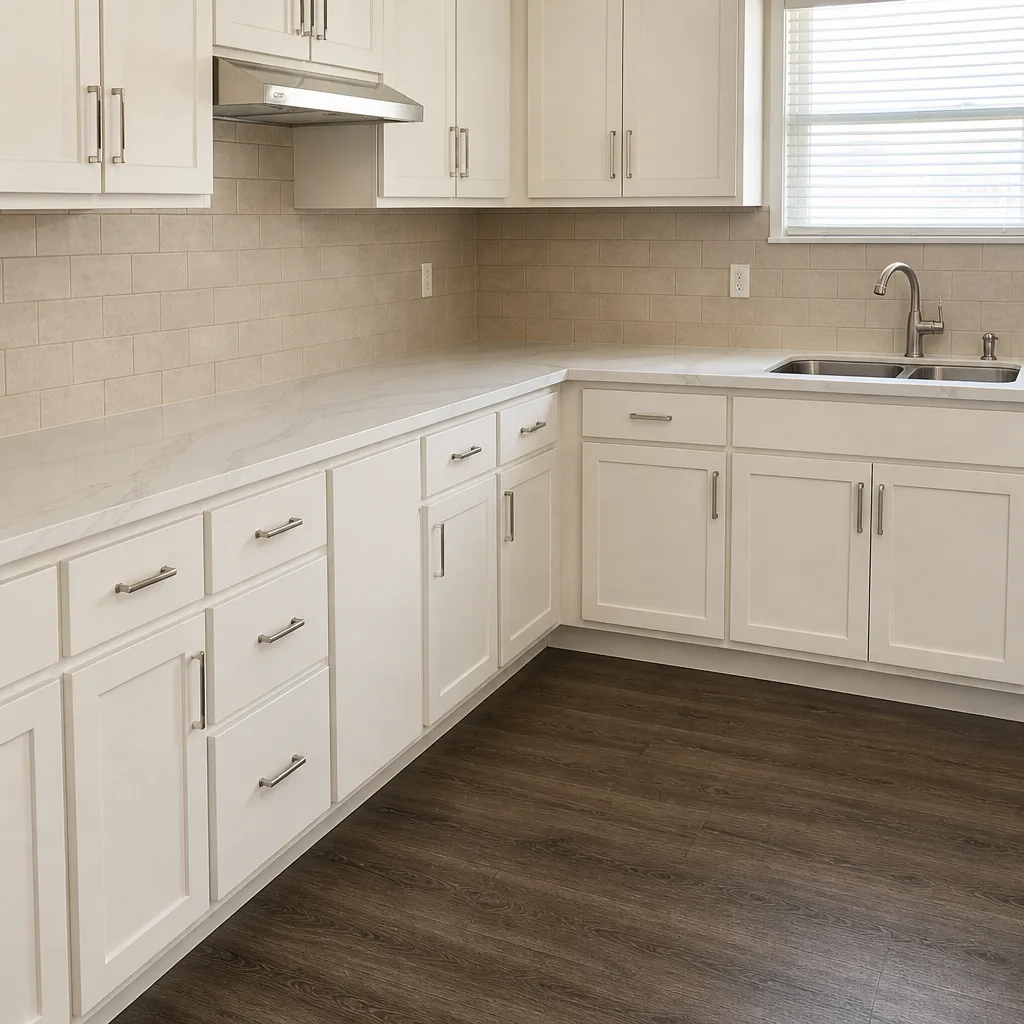 After
When to Call a Professional

Call a professional the moment your project involves any of the following: full-frame replacement, a new opening in an exterior wall, an altered rough opening, sliding or French door replacement, bay or bow windows, any installation that requires a permit in Allen, or any work where you can’t personally verify the manufacturer’s installation tolerance with a laser level. If you’re uncertain whether your project requires a permit, that uncertainty alone is the reason to call – the cost of doing it wrong is higher than a free estimate.
Groundwork Construction Co. of Allen offers free estimates in Allen. Call (888) 343-9048 to schedule your estimate. Calls are answered by a live person 24/7, and quotes come back as written line-item proposals so you can compare apples to apples. Every technician is background-checked and arrives in uniform, and every install carries the 730-Day Done Right Promise.
Frequently Asked Questions
You can install a window yourself in Allen only when it’s a like-for-like replacement in an existing opening, does not alter structural framing, and does not require a permit. In practice, most full-frame and any new-opening installations require a licensed professional, a permit, and a documented installation standard to protect the manufacturer warranty. When in doubt, call (888) 343-9048 for a free estimate.
DIY window installation can void the manufacturer warranty if the unit wasn’t installed to the manufacturer’s published installation standard. Most major manufacturers – Andersen, Marvin, Pella – require documented compliance with their installation documents (shimming, fastening, flashing, and tolerance specs), and warranty claims are routinely denied without it. A professional installation through Groundwork Construction Co. of Allen follows those standards and is backed by the 730-Day Done Right Promise.
Allen requires a permit for window or door work that alters structural framing, changes the rough opening size, or adds a new opening to an exterior wall. Simple like-for-like window replacement in the same opening often does not require a permit, but the final determination is made by Allen Building Inspections, not the homeowner. Groundwork Construction Co. of Allen pulls permits and passes inspections on every applicable project – call (888) 343-9048 to confirm what your project needs.
The most common DIY window installation mistake is improper flashing – specifically, getting the layer order wrong so water channels into the wall instead of out. This failure typically stays invisible for two to five years, then shows up as rot, water staining, or musty odor around the opening. It’s also the mistake with the highest repair cost because the wall assembly has to be opened to fix it.
On most jobs, DIY window installation saves less than homeowners expect once tool rental, flashing and caulk materials, and realistic labor time are added in, and the savings gap shrinks further if a single warranty claim or wall repair is needed. Professional installation through Groundwork Construction Co. of Allen is often within 20-30% of the true DIY cost, and includes permits, haul-away, and the 730-Day Done Right Promise. Call (888) 343-9048 for a written quote.
Yes, glass-only replacement (also called glass unit replacement or insulated glass unit swap) is sometimes possible when the frame and sash are sound and the failure is a fogged or broken IGU. This is a job for a professional glazier because the glass is heavy, tempered-glass requirements apply, and the frame seals need to be rebuilt correctly. It’s generally less expensive than full window replacement when the frame passes inspection.
Pocket replacement installs a new window inside the existing frame without removing interior or exterior trim. Full-frame replacement removes the entire frame and is required when the rough opening needs modification, when the frame is rotted, or when the window size is changing. Pocket replacement is faster and less invasive; full-frame is more thorough and, in Allen, more likely to require a permit. Both are professional installation categories, not DIY-safe ones.
The Bottom Line
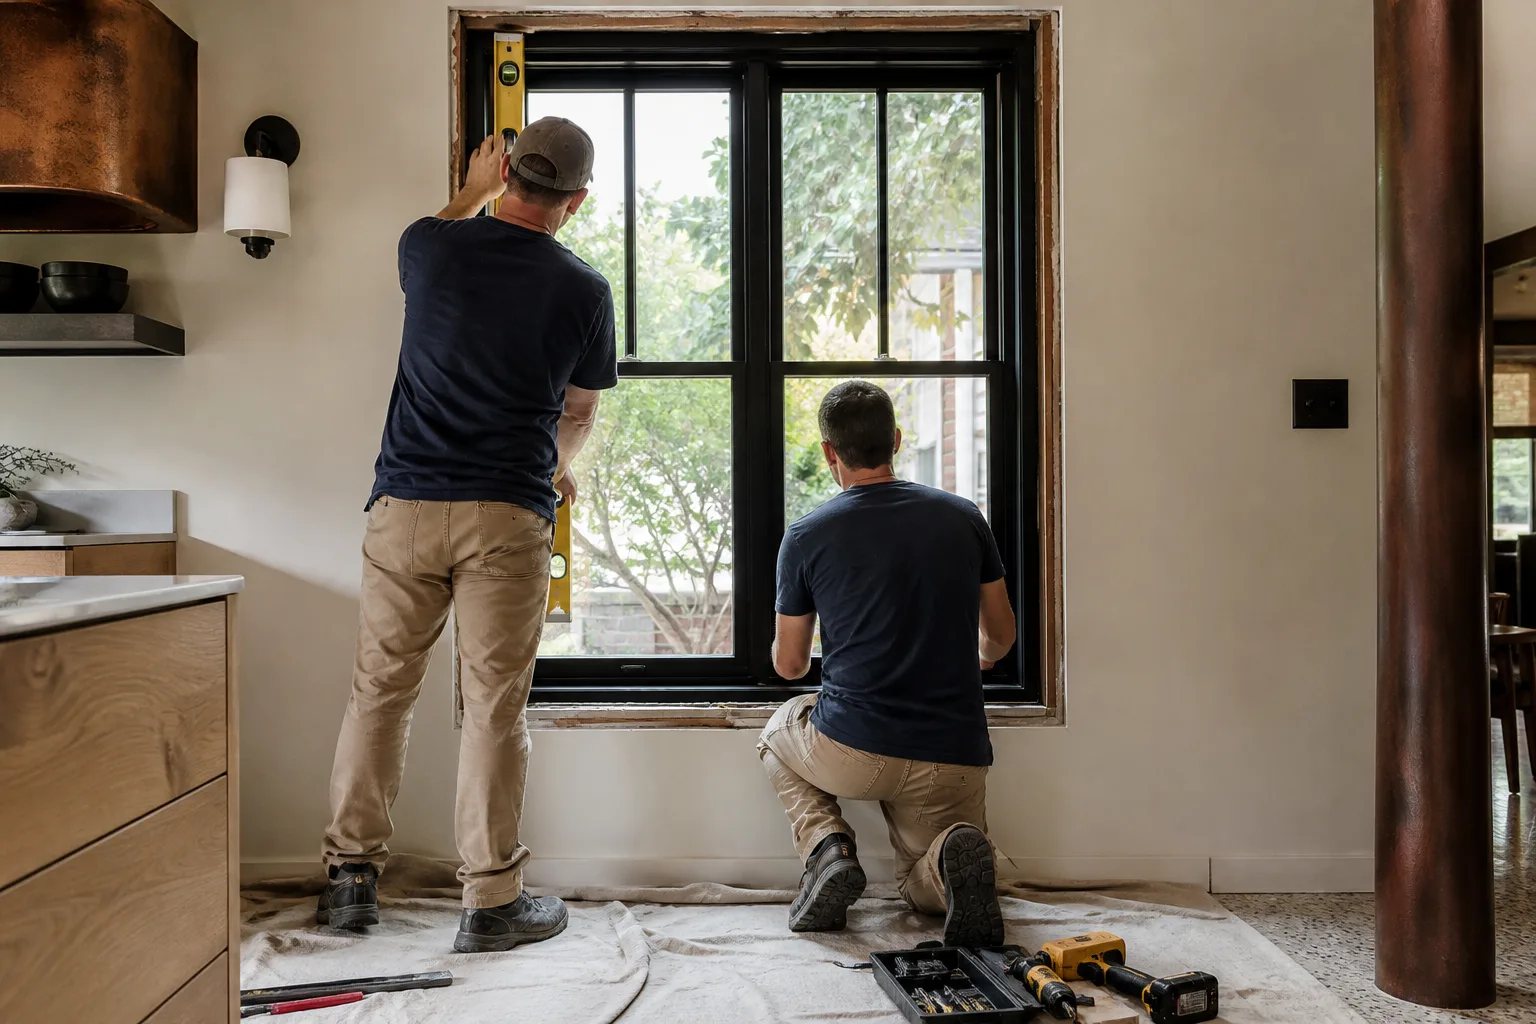
The DIY-safe range for windows and doors is real, and it saves money: hardware, weatherstripping, interior casing, caulking, and screens all belong in your hands. The line that matters is the one where DIY work touches the structural framing, the weather barrier, or the manufacturer’s installation standard – because that’s where an amateur install becomes a wall rot job, a code violation, or a voided warranty. If your project crosses that line, or if you’re unsure it doesn’t, the honest call is a professional estimate. It’s free, and it’s the cheapest way to know.
Whether you’re upgrading the windows on a single room in Allen or planning a larger envelope and exterior project, our team handles full-scope window and door work with the manufacturers’ installation standards, permitted work, and the 730-Day Done Right Promise behind every project. All projects come with upfront pricing, no surprises, and written line-item quotes you can compare directly.
Ready for a no-hassle estimate? Groundwork Construction Co. of Allen home has the full picture of what we do across every service category – from windows and doors to kitchens, roofing, and more. Call (888) 343-9048 to schedule your free project estimate and design consult. Live person, 24/7, ready to talk through exactly what your project needs.
Written by the team at Groundwork Construction Co. of Allen.