Last updated November 18, 2026



Free written scope consultation - allowances, timeline, and change-order rules on paper before a single trade is scheduled
Driveway & Pavers Maintenance Schedule: What to Do and When
The single most expensive maintenance mistake Allen homeowners make is sealing their pavers too early. Apply sealer before the jointing sand has fully cured and you trap moisture underneath, which produces the exact efflorescence and hairline cracking the sealer was supposed to prevent. We’ve seen it on driveways off Exchange Parkway and in the newer sections of Twin Creeks, and it usually costs the homeowner a full strip-and-replace within three years. The second mistake is following a maintenance calendar written for a mild climate. Allen doesn’t have a mild climate. What follows is a schedule calibrated to North Texas heat, flash flooding, and the expansive clay soil that shifts under every driveway in this city.
Quick Answer
A paver driveway in Allen needs joint sand top-ups every 12 to 18 months, a full polymeric sand replacement every 3 to 5 years, edge restraint inspection twice a year, and resealing every 3 to 5 years – not annually. Deep cleaning should happen in early spring, post-storm base checks after any flood event, and a full joint inspection every October before the soil starts its wet-season movement. Skip the annual sealer and instead spend that money on sand replenishment and edge checks, which is where most Allen driveway failures actually begin.
Styles & brands we work with
- Kitchen remodeling
- Bathroom remodeling
- Home additions & ADU
- Roofing
- Windows & doors
- Driveway & pavers
- Fence
Table of Contents
- Why Allen’s Climate Breaks Generic Maintenance Schedules
- The Month-by-Month Allen Paver Maintenance Calendar
- The Correct Re-Sanding Interval for Polymeric Sand in Allen
- Sealing: How Often, and How to Tell You Actually Need It
- Inspecting Edge Restraints Before Small Failures Cascade
- The Post-Storm Inspection Checklist for Allen Flash Floods
- Cleaning, Weeding, and Stain Removal Through the Seasons
- Repair or Replace: When Maintenance Stops Being Enough
Why Allen’s Climate Breaks Generic Maintenance Schedules
Most “paver maintenance” articles you’ll find online were written for a climate with four gentle seasons and stable, well-drained soil. Allen gets none of that. A summer here routinely pushes the surface temperature of exposed pavers past 140°F, which accelerates the breakdown of polymeric sand binders and dries out any sealer film faster than the manufacturer’s testing assumed. Then the fall and spring rains arrive, and the black clay soil underneath swells and shrinks with every wet-dry cycle.
That shrink-swell movement is the quiet problem. When the clay under a driveway expands after heavy rain, it lifts the base. When it dries out in August, it drops back. Concrete pavers are rigid, but a driveway is a system, and that system moves. The paver joints are the flex points – which is why keeping sand in those joints isn’t cosmetic maintenance, it’s structural. Sand-filled joints distribute load across the whole field. Empty or washed-out joints concentrate load on individual units, and that’s where you get the rocking, chipped corners, and eventual base failure that leads to a full reconstruction.
Allen’s specific exposure matters too. Driveways near Watters Creek and along the lower streets that drain toward the creek corridors see more sheet-flow water across their surfaces than a typical suburban lot. That water doesn’t just run off – it works at the joint sand, the edge restraints, and the base compaction layer. If your home sits on a slope or your driveway is the low point of the block, everything in this guide applies to you at double the frequency. That’s not a sales pitch, it’s the reality of how water behaves. If you’re weighing a new install against a repair, our Driveway & Pavers in Allen page walks through base construction and material choices in more detail.
The Month-by-Month Allen Paver Maintenance Calendar
Generic spring/fall advice misses the two windows that actually matter here: the June-through-September heat stretch, when sand binders degrade fastest, and the October soil-movement transition, when edge failures reveal themselves. Here’s the calendar we recommend to Allen homeowners.
- January: Visual sweep for popped or rocking units after the freeze-thaw events. Allen gets enough hard freezes to open up joints, even if brief.
- February: Inspect drainage path – confirm water still moves away from the garage apron and doesn’t pool. Clear any debris blocking the slope.
- March: Deep clean (pressure wash at moderate pressure, never high). This is the ideal window – before the heat, after the worst of the pollen and winter grime.
- April: Full joint sand inspection. Top up any joints that have dropped below the paver surface by more than about 1/8 inch. Best month for re-sanding – warm enough to cure, not yet brutally hot.
- May: Edge restraint inspection. This is the month the ground is workable and you can catch movement before summer.
- June-August: Spot checks only. Heat stress on sand and sealer is highest now. Address weeds by hand, not with a string trimmer against the paver edges.
- September: Second drainage and joint inspection after the late-summer heat has done its damage.
- October: Full pre-wet-season inspection – the most important single month. Check edge restraints, joint fill, and any settlement. This is when you want everything tight before the soil starts its wet-season swell.
- November-December: Leaf and organic debris removal. Wet leaves held against pavers over winter accelerate staining and keep joints damp.
Two of these months – April and October – carry most of the value. If you only do maintenance twice a year in Allen, do it then.
The Correct Re-Sanding Interval for Polymeric Sand in Allen
Here’s where the standard advice falls apart. Many sources tell you to re-sand every year. In Allen, with our heat and rain, that’s usually too aggressive for polymeric sand and not aggressive enough for plain joint sand. Getting the right answer for your specific driveway depends on what’s actually in the joints now.
Polymeric sand – the kind that hardens when wetted – typically holds for 3 to 5 years in a North Texas climate before it starts crumbling and washing out at the joints. High-traffic areas and the apron where tires pivot will fail first, often around year 3. Plain sand needs topping up every 12 to 18 months, sometimes more after heavy rain seasons. If you don’t know what’s in your joints, run your hand across the surface: polymeric sand feels like a firm, slightly rubbery crust; plain sand is loose and gritty.
The proper sequence for re-sanding, which most homeowners get wrong in the order of operations:
- Clean the joints thoroughly – remove old sand, weeds, dirt, and organic matter down to about a third of the joint depth. Power-washing helps, but let the surface dry fully before the next step.
- Confirm the base is sound. If any unit rocks underfoot, fix the base before re-sanding – sand over a moving unit is wasted money.
- Apply the new polymeric sand and sweep it into the joints completely, then compact so it settles.
- Sweep the surface completely clean of excess sand before activating. Any sand left on the paver faces will bond to the surface and set up as a haze.
- Activate per the manufacturer’s water application, typically a light misting – not a soaking drench, which can push sand out of the joints.
- Keep traffic off the surface for the manufacturer’s stated cure window, often 24 hours, longer in cooler weather.
The reason Allen’s re-sanding interval matters so much is that a joint without sand is a joint without a load path. Once the sand is gone, water gets in directly, the base softens, and you move from maintenance territory into repair territory. That’s the cascade. In our experience across Allen driveways, homeowners who keep up with joint sand spend a fraction of what a base rebuild costs. The math isn’t close.
Sealing: How Often, and How to Tell You Actually Need It
Sealing too often is worse than not sealing at all. Here’s what most people don’t understand: a sealer is a film. It doesn’t breathe the way plain paver does. When you apply a new coat over a failing coat, or over a surface that still holds moisture, you trap the water inside, and that trapped moisture causes the efflorescence – the white, chalky bloom – and the surface spalling that sealer is supposed to prevent. In Allen, with our wet-dry cycle, the risk of sealing a surface that’s still holding moisture is real and significant.
The right interval for a properly dried, properly cleaned paver driveway in this climate is every 3 to 5 years, not annually. Some high-exposure drives may want a refresh around year 3. Interior patios and covered walkways may stretch to 6 or 7. The question isn’t “how often” so much as “does this surface need it.” Here are the tests:
- The water bead test: Drop a little water on the surface. If it beads and rolls, the sealer is still working. If it soaks in quickly and darkens the paver, the protective film has worn through.
- The color test: If the paver color looks washed out or faded uniformly compared to a sheltered area, the sealer topcoat has degraded.
- The texture test: If the surface feels sandy or grainy, the top layer may be breaking down – investigate before adding sealer.
- The efflorescence check: Any white bloom means moisture or salts are moving through. Don’t seal until the cause is identified and corrected.
Wait for the surface to be genuinely dry. In Allen, that means after at least a week of dry weather, usually late spring or early fall. Don’t seal in the middle of summer heat – many products flash-cure too fast and leave a streaky finish. Don’t seal in October during the wet-season transition if rain is in the forecast. And if you recently re-sanded, wait for the polymer to fully cure first. That’s the mistake the opening hook described, and it’s the most common way a good maintenance budget gets wasted. For questions about materials and finishes, our Groundwork Construction Co. of Allen home page outlines the curatorial standard we hold brand partners to across every trade.
Inspecting Edge Restraints Before Small Failures Cascade
The edge restraint – the concrete curb or metal channel that runs along the outer perimeter of the driveway – is the anchor of the whole paver field. When it fails, the pavers spread, joints open, sand washes out, and you get full section movement. Most homeowners never check it until the visible damage is already done. In Allen, on our clay soil, edge restraint movement is one of the most common failure points we’re called to repair.
Here’s the inspection process, and it takes about fifteen minutes:
- Walk the entire perimeter of the driveway, including the transition to the lawn, sidewalk, and garage apron.
- Look for gaps between the edge restraint and the pavers. Any visible gap means the restraint has moved or the pavers have spread.
- Check for cracks in the concrete curb or metal restraint, particularly at corners and any cold joints.
- Press down firmly on the outermost pavers. They should not rock or drop. Any vertical movement means the restraint has lost anchor or the base has settled.
- Confirm the restraint is still pinned or bonded to the base. On older installations, spikes can work loose – most failures we see start there.
- Check the transition to the lawn for soil erosion under the restraint, which is common in Allen after heavy rain.
The key insight is timing. A five-inch gap between the edge restraint and the paver field gets a simple fix. A five-inch gap that has been there through one rainy season in Allen has likely washed base material out from under the field entirely, and you’re looking at lifting and re-setting a section rather than a spot repair. Check the restraints in May and again in October. If you’re seeing obvious movement, get it assessed before the wet season, not after.
The Post-Storm Inspection Checklist for Allen Flash Floods
Not every storm warrants a full inspection, but Allen’s flash-flood events do. A single heavy event – the kind that turns Wilson Creek and the drainage channels into fast-moving water – can undermine base compaction on any driveway in a low-lying section. Sheet flow across a driveway, especially if it’s concentrated by grade or neighboring lots, can shift base material and loosen edge restraints in a single afternoon. Here’s the checklist.
- Check the surface for standing water: If water is pooling on the driveway hours after the rain has stopped, drainage has changed. That’s a base-level issue worth investigating.
- Look for joint sand loss: If the joints look noticeably emptier than they were before the storm, the water has flushed the sand. Re-sand within a few weeks.
- Check edge restraint for new gaps: Run a visual perimeter sweep. Any new gap indicates washout at the edges.
- Press-test for rocking pavers: Water undermines base compaction. A rocking paver after a storm is a sign that the base under it has moved.
- Inspect the driveway-to-garage transition: The apron is where the most water passes. Any separation or differential settlement here needs attention.
- Check for soil erosion at lawn and planting transitions: Water that has run off the pavers and eroded the adjacent soil can leave voids under the edge restraint.
- Look for new efflorescence: White bloom appearing after a storm is a moisture signal. Don’t seal it – diagnose it.
If any of these indicate base movement, don’t put it off until “next spring.” Base failures in Allen’s clay soil grow quickly once started. If you’re seeing movement that goes beyond maintenance, it’s worth having a professional take a look rather than trying to fix it with sand and sealer. Fence lines and borders often share the same drainage problem – the Fence Installation in Allen page discusses how drainage and post setting interact with our soil in more detail.
Cleaning, Weeding, and Stain Removal Through the Seasons
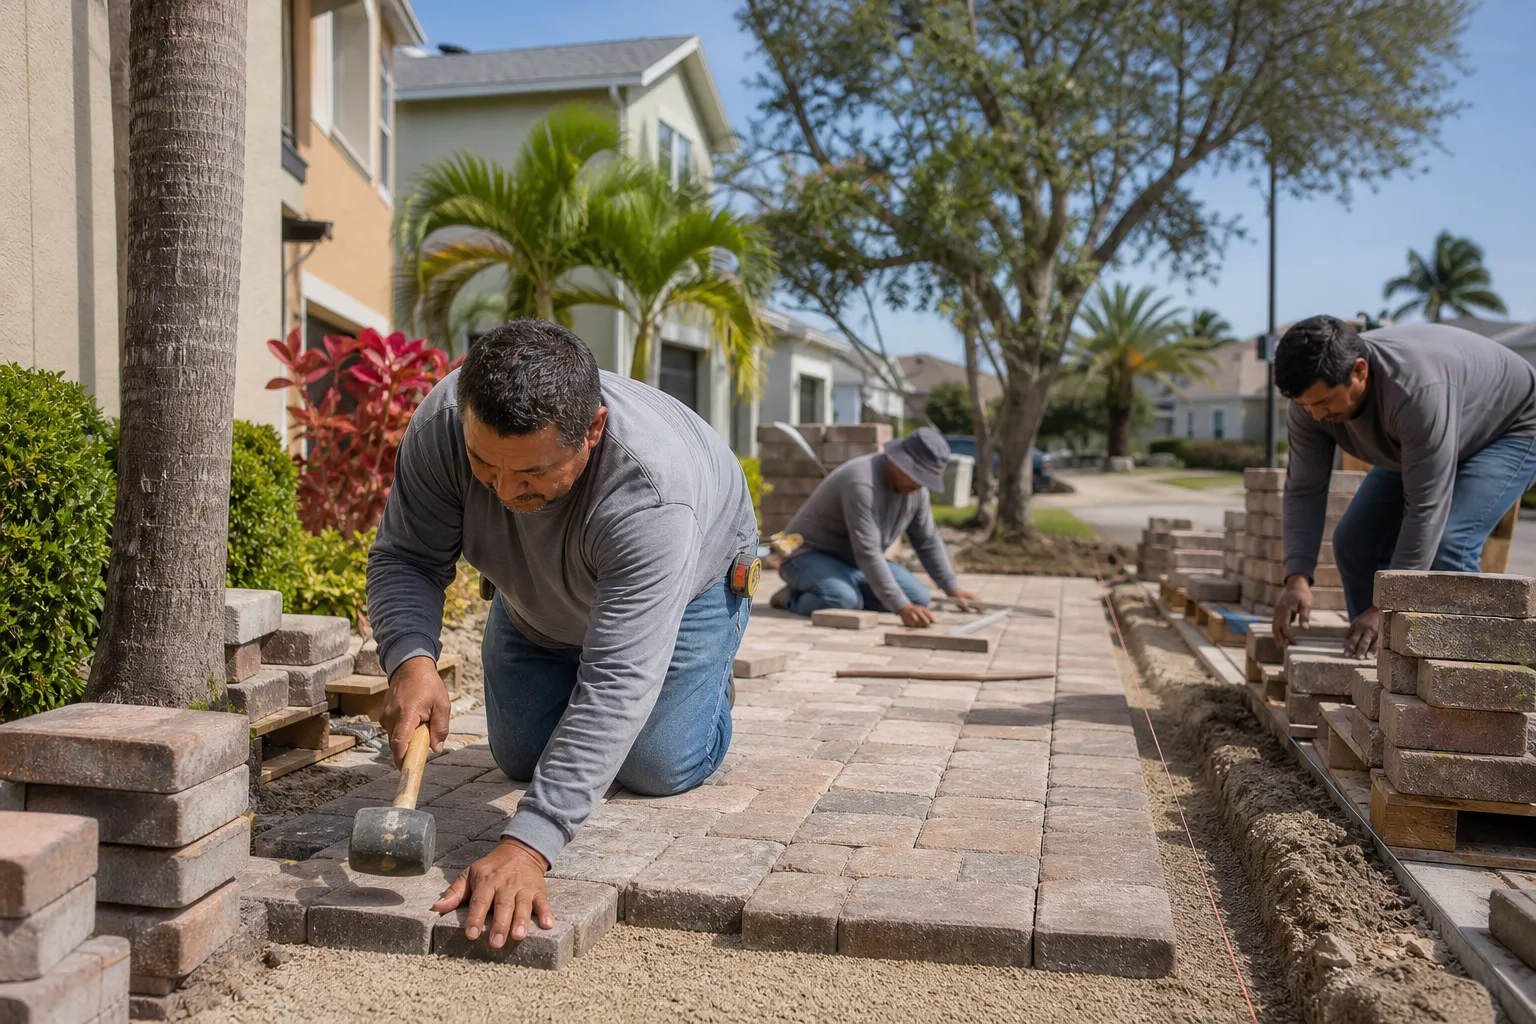
Cleaning is the low-cost, high-return part of any maintenance schedule – as long as it’s done correctly. Pressure-washing a paver driveway at high pressure is one of the most damaging things a homeowner can do. It erodes the joint sand, drives the surface finish off, and leaves the paver vulnerable. Moderate pressure at a wide fan tip, angled across the pavers not directly at the joints, is the correct approach. If the joints are already compromised, clean first and re-sand; don’t clean after re-sanding.
Weeds are the seasonal annoyance most Allen homeowners ask about. The strategy that works:
- Pull weeds by hand when the ground is damp – roots come out cleaner after rain.
- Never use a string trimmer against the paver edges; it chips the paver surface and opens the joints.
- Spot-treat with a targeted paver-safe herbicide rather than broadcast, especially in spring when adjacent plantings are vulnerable.
- Keep the joint sand topped up – weeds germinate in the open joint. A full joint is a weed-resistant joint.
- Remove organic debris (leaves, grass clippings, soil) promptly through fall and winter; wet debris holds moisture against the surface.
Stains are seasonal too. Rust from patio furniture and irrigation spigots will spread in wet months and should be treated with an oxalic-acid product promptly. Oil stains from vehicles should be blotted not scrubbed, then treated with a poultice. Organic stains from leaves tend to fade on their own but can be accelerated with a mild bleach solution. If you have heavy organic staining in a shaded section, that’s often an indication of a moisture issue worth investigating. If your plan for the coming year includes a larger outdoor or additions project, our Home Additions & ADU in Allen page covers how paving and drainage tie into broader site work, and brands like Plant Prefab and Dvele offer prefabricated alternatives worth understanding if you’re thinking that direction.
Repair or Replace: When Maintenance Stops Being Enough
Maintenance extends a driveway’s life for decades, but eventually there’s a line where repair stops making economic sense. Here’s how to tell the difference, in language a homeowner can actually apply.
Repair makes sense when the damage is localized. A handful of settled units, a section of edge restraint that’s lost anchor, a stretch of joints that needs re-sanding – all of these are repairable for a fraction of replacement cost. Repairing individual units works when the base under them is sound; you lift the pavers, correct the base, re-set, re-sand.
Replacement territory looks different. Widespread rocking across a large section, systematic base failure after multiple repair attempts, deep cracks in a high percentage of units, or a driveway whose grade has settled so far that drainage can’t be corrected without lifting the entire field – those are replacement scenarios. The economic threshold is usually around 30 percent of the surface area needing base work; beyond that, the cost of piecemeal repairs starts to exceed the cost of a proper rebuild, and you’re setting up for another round of repairs in two years.
Two other signals: repeated failures in the same spot despite proper repair, which usually means the underlying base or drainage is the real problem, and a driveway that’s over 25 to 30 years old with the original base – in that case the base has done its working life and you’ll likely get more value from a rebuild than a stream of repairs.
When it’s a genuine replace, we build to a specification that holds up to Allen’s soil and weather – properly compacted base, correct restraint anchoring, and joint sand matched to the climate. Our background-checked, uniformed technicians bring the same standard to a 300-square-foot paver repair that they bring to a full rehabilitation, and every project is covered by the 730-Day Done Right Promise – if it’s not done right, we make it right. That’s our written commitment regardless of the size of the job.
Common Mistakes to Avoid
- Sealing a new installation too early. Polymeric sand needs its full cure window – sometimes several weeks – before sealer. Trap moisture under the surface and you get the exact cracking and efflorescence you were trying to prevent, which is the costliest mistake we see in Allen.
- Sealing every year. A sealer film lasts 3 to 5 years in this climate. Re-applying annually traps moisture and builds a failing layer that has to be chemically stripped before the next application.
- Pressure-washing at high pressure against the joints. This erodes the joint sand and drives the surface finish off the pavers. Moderate pressure at a wide angle, across not into, the joints is the correct method.
- Ignoring edge restraint movement. A small gap in the perimeter restraint in April becomes a full section rebuild after the October wet season. The perimeter is where most Allen driveway failures start.
- Using plain sand where polymeric sand belongs (or the reverse). Plain sand washes out quickly in a high-rain environment; polymeric sand in the wrong application can hold moisture. Match the product to the driveway’s drainage pattern.
- Skipping post-storm inspection after a serious flood event. Allen’s flash flooding can undermine base compaction in a single afternoon. A fifteen-minute inspection a week after the storm catches the problem while it’s still cheap to fix.
- Letting leaves and organic debris sit on the surface through winter. Wet organic debris holds moisture against the paver face, accelerates staining, and drives joint failure. Clean it up promptly through fall and early winter.
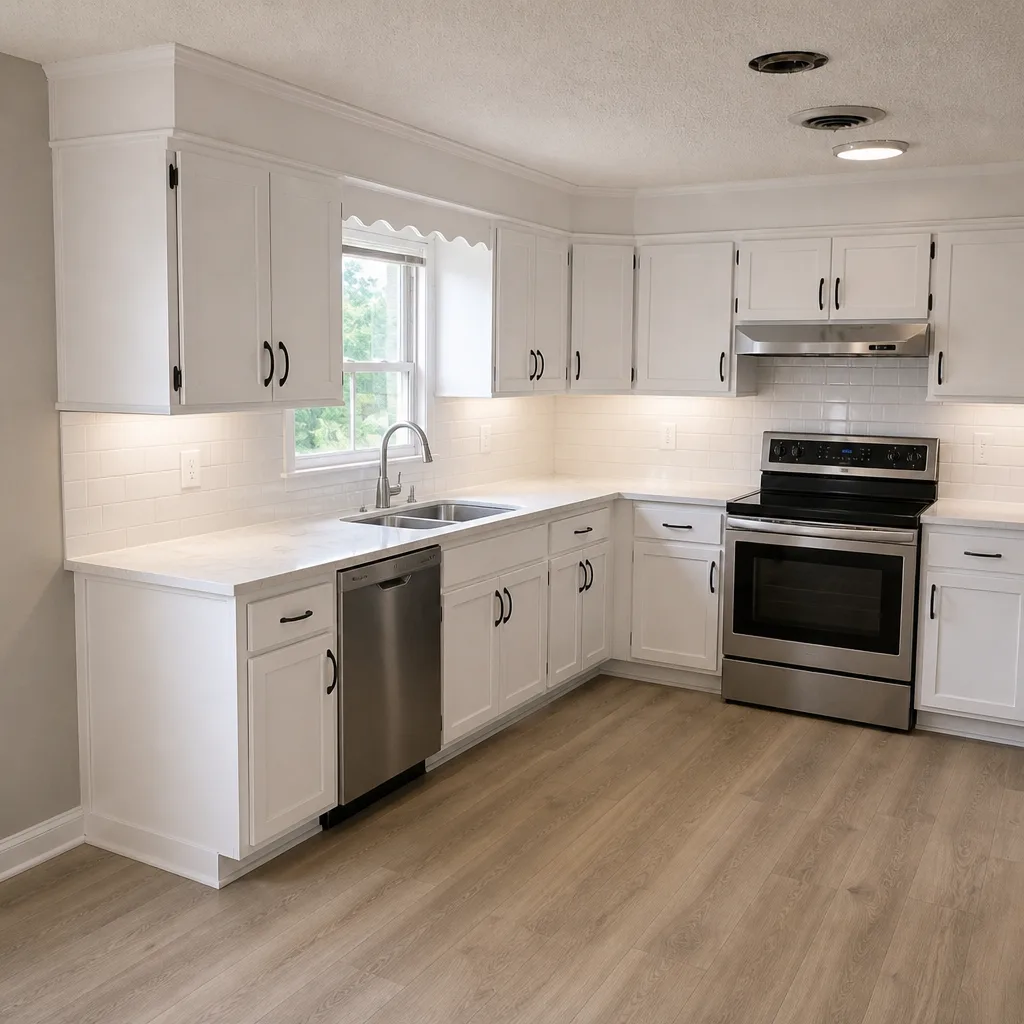
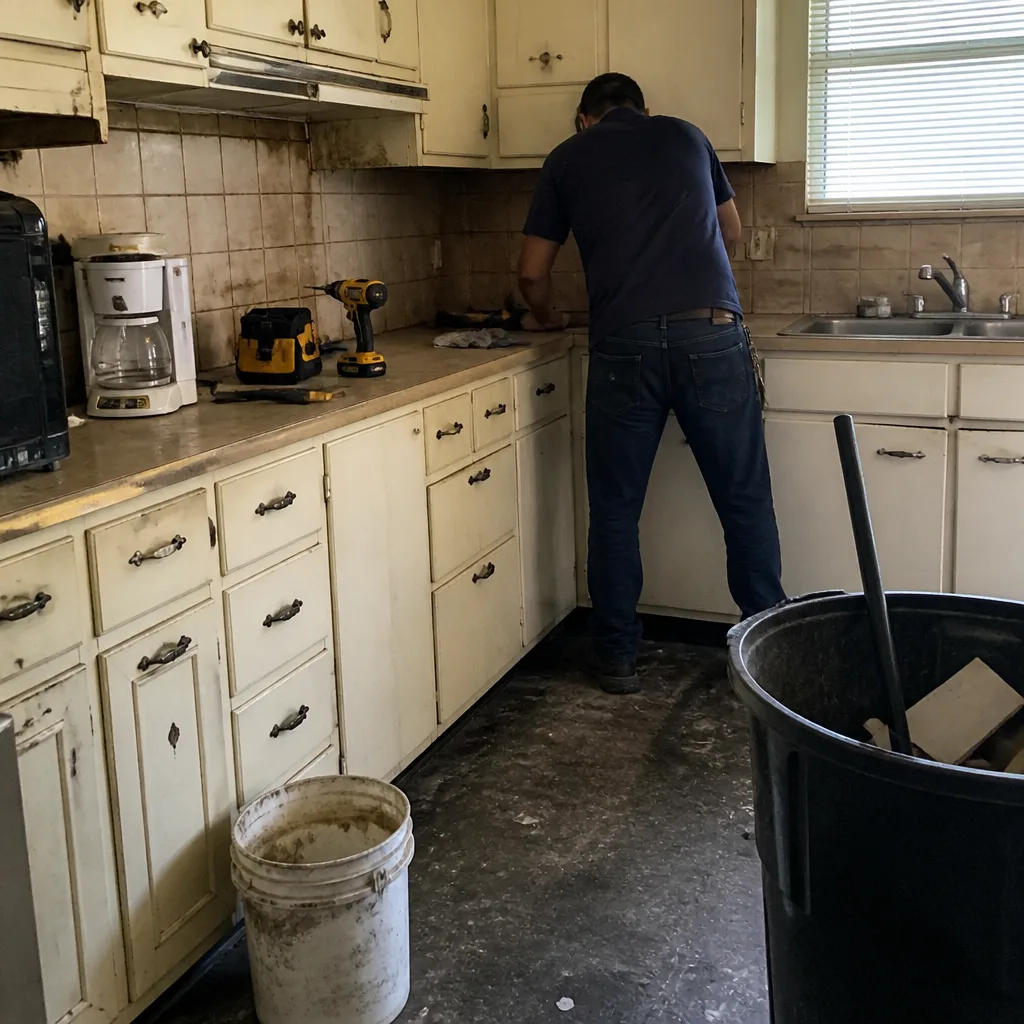
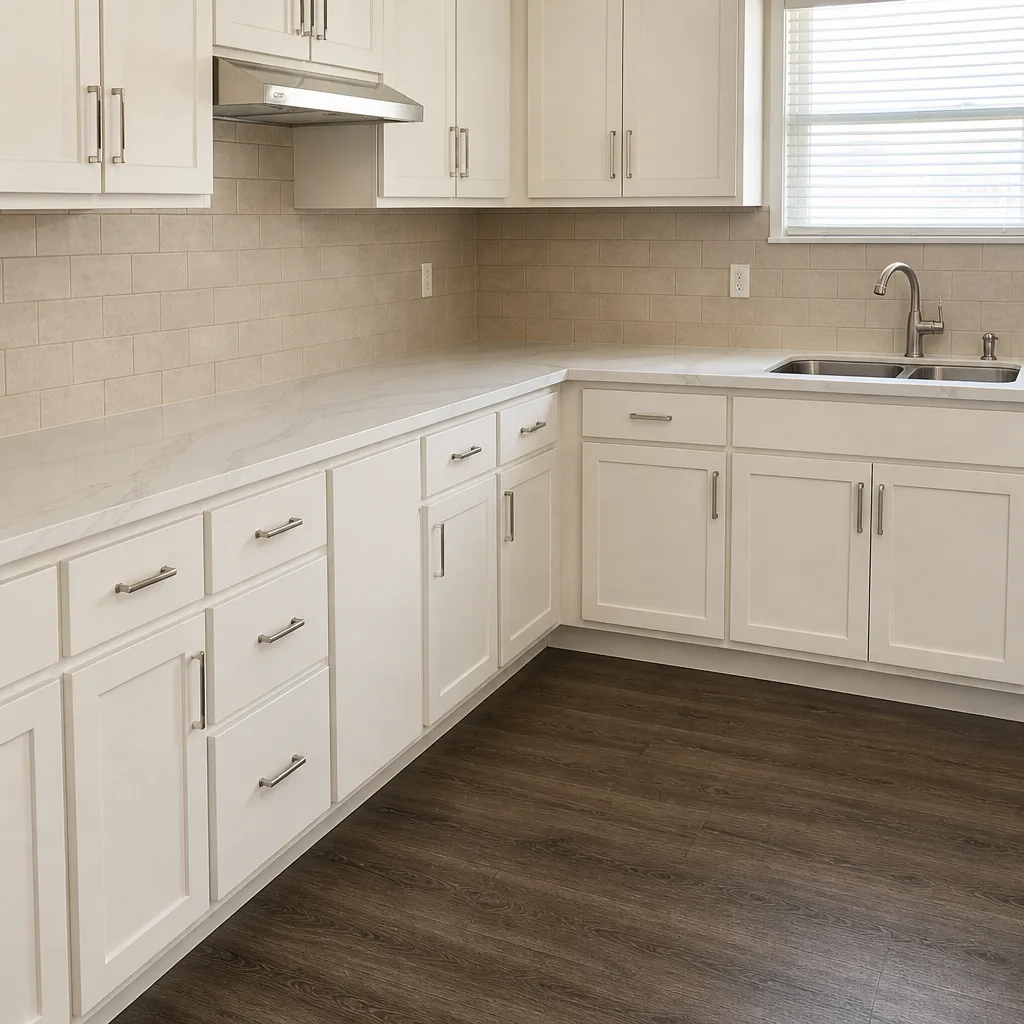
See the difference
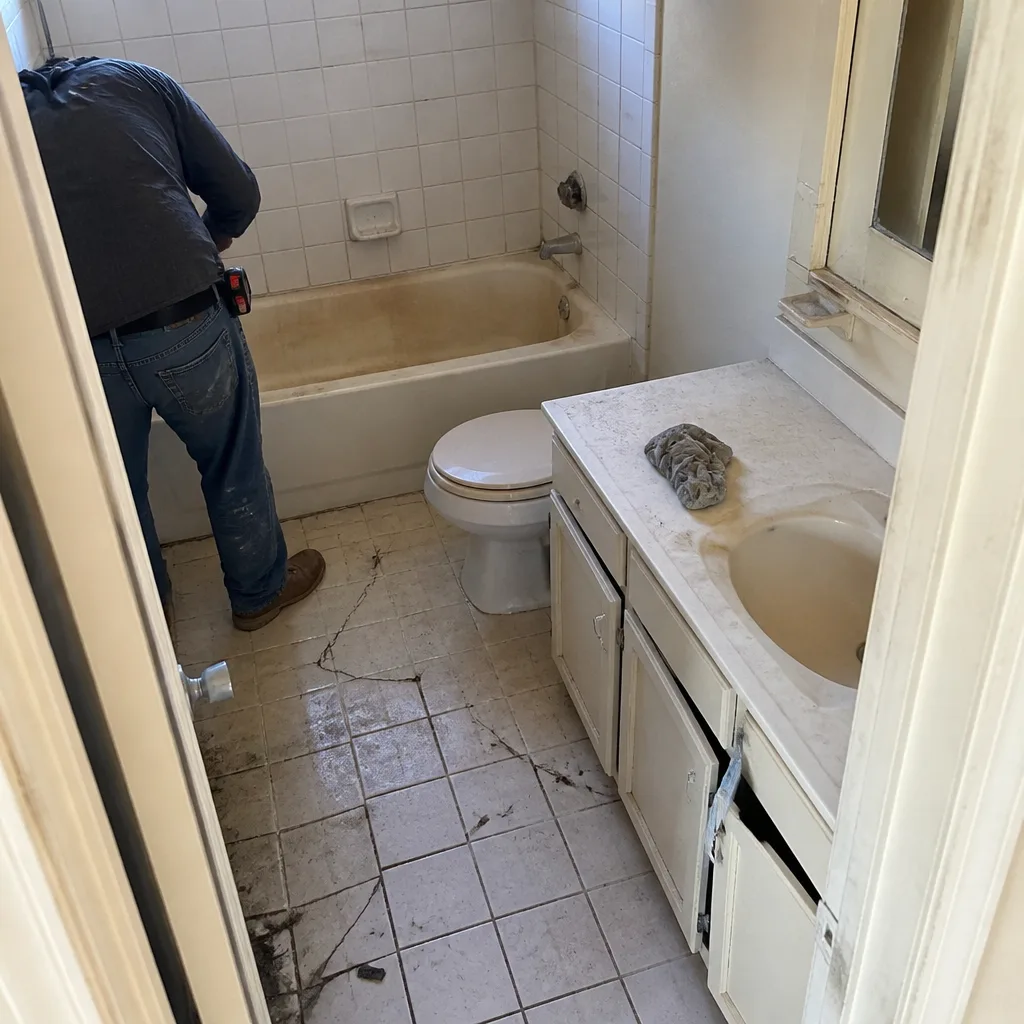 Before
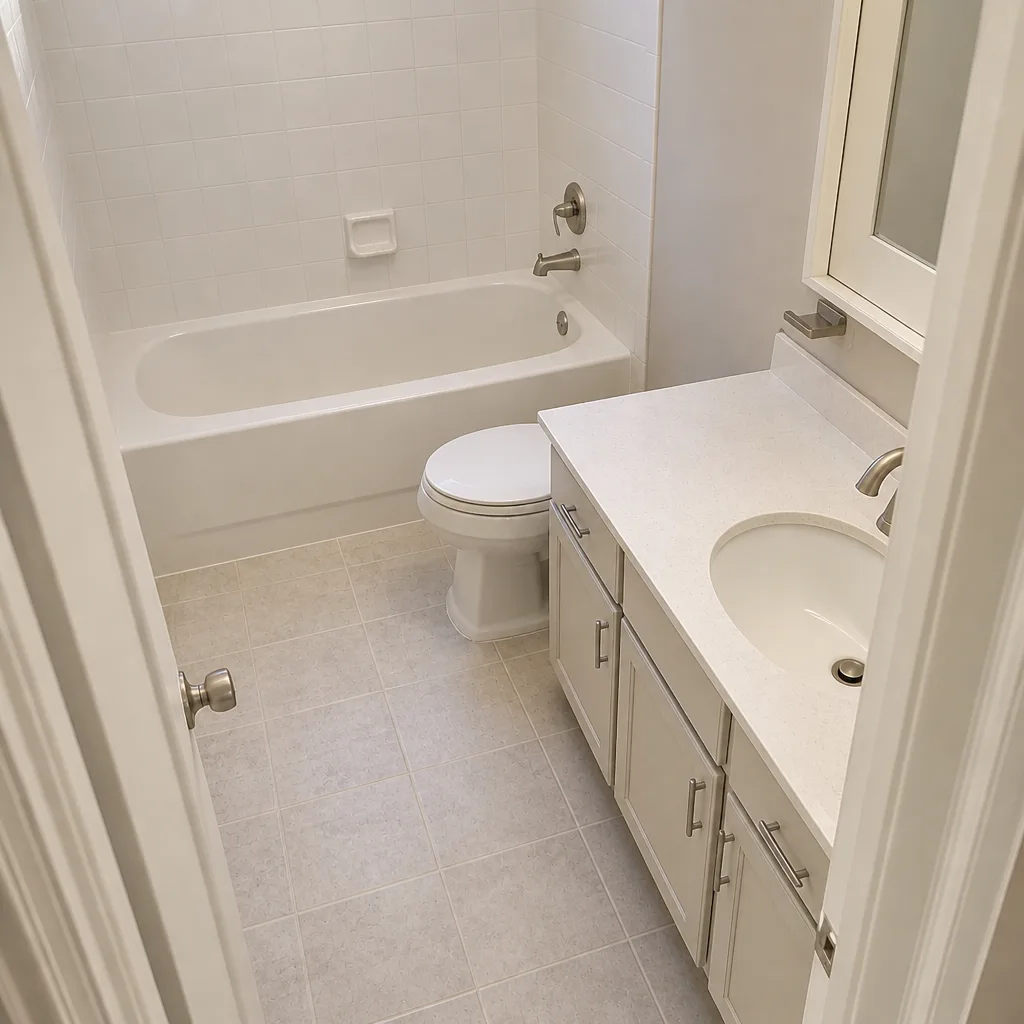 After
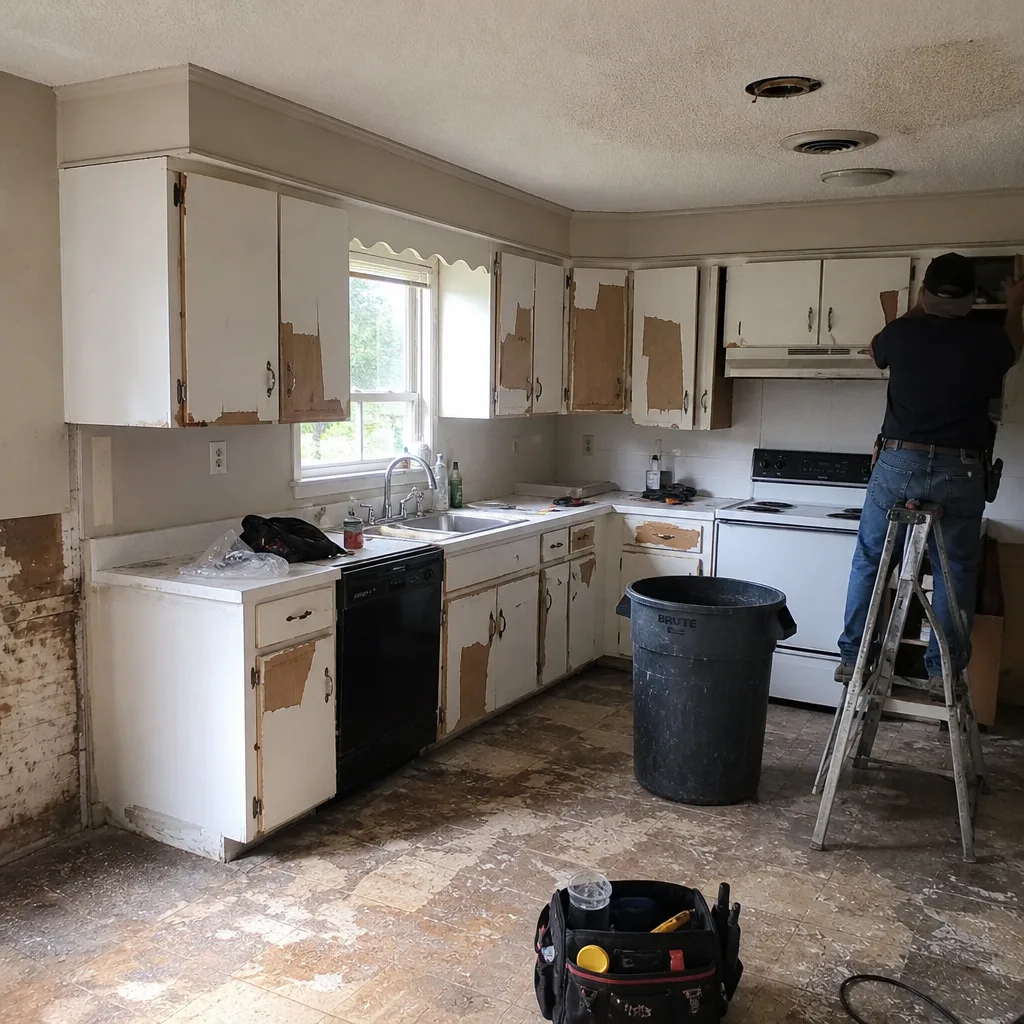 Before
 After
 Before
 After
When to Call a Professional
Some of this schedule you can run yourself: the visual inspections, the water bead test, debris removal, and pulling the occasional weed. What warrants a professional call is any sign of base movement. If pavers rock underfoot beyond a single unit, if the edge restraint has visibly moved away from the field, if water pools on the surface hours after a storm, or if you’re seeing systematic joint sand loss across a large section – those are signals that maintenance alone won’t fix. Base rehabilitation in Allen’s clay soil needs proper compaction equipment and material, and getting it wrong the first time costs more than getting it right. Groundwork Construction Co. of Allen offers free estimates in Allen – call (888) 343-9048 to schedule a walkthrough. Live people answer around the clock, and we’ll tell you honestly whether you’re looking at maintenance or a repair.
Frequently Asked Questions
Every 3 to 5 years, not every year. A properly applied sealer film lasts that long in North Texas, and resealing too often traps moisture that causes efflorescence and cracking. Test with a few drops of water – if it beads and rolls, you don’t need to reseal yet. If you’re unsure, call (888) 343-9048 for a free assessment.
Usually 3 to 5 years, with high-traffic areas and the drive apron failing first. The combination of 100°F-plus summer surfaces and heavy rain cycles degrades the polymer binder faster than a mild climate would. Top up plain joint sand every 12 to 18 months if that’s what’s in your driveway.
No. White bloom is called efflorescence and it means moisture is moving through the paver, not that the sealer has failed. Sealing over efflorescence will trap it and make the problem worse. Diagnose and correct the moisture source first, then reseal after a dry period. Call (888) 343-9048 for a free evaluation if the bloom is widespread.
Only at moderate pressure with a wide fan tip, angled across the pavers rather than directly at the joints. High pressure erodes the joint sand and can lift the surface finish. If your joints are already compromised, clean first, then re-sand, and wait for the sand to cure before doing anything else.
Look for visible gaps between the restraint and the paver field, cracks in the concrete or metal, and any rock or drop when you press on the outermost pavers. A small gap in spring will cascade into section movement by fall in Allen. If you’re seeing movement, a professional assessment is worth the call.
Yes, and for decades. A paver driveway that gets correct re-sanding, edge inspection, and moderate cleaning will outlast a neglected one by a significant margin. The failures that force replacement are almost always the result of deferred joint sand and edge restraint issues, not the pavers themselves failing. Call (888) 343-9048 for a free walkthrough if you want a straight answer on your specific driveway.
The Bottom Line
The paver driveway that survives forty years in Allen isn’t the one that gets sealed every spring – it’s the one whose joints are kept full, whose edges are checked twice a year, and whose base is protected after every serious rain. If you take one thing from this guide, take the April-October inspection rhythm and the 3-to-5-year re-sanding and resealing interval. Skip annual sealer. Spend that money on polymeric sand and edge restraint checks instead. The climate in Allen is hard on pavers, but it’s predictable, and predictable problems are fixable. Groundwork Construction Co. of Allen builds and maintains to a standard that holds up to the climate, backed by the 730-Day Done Right Promise, upfront pricing with no surprises, and a free project estimate and design consult whenever you’re ready. Call (888) 343-9048 to schedule a free estimate, and we’ll walk your driveway with you.
Written by the team at Groundwork Construction Co. of Allen.