
Last updated November 18, 2026







Free written scope consultation - allowances, timeline, and change-order rules on paper before a single trade is scheduled
Bathroom Remodeling Maintenance Schedule: What to Do and When
Most bathroom grout failures, caulk failures, and exhaust fan burnouts happen within 24 months of a remodel. Not because the work was bad. Because nobody handed the homeowner a maintenance schedule on day one. We’ve walked into Allen bathrooms two years after a competitor’s remodel and watched water quietly working its way behind a failed caulk joint into a $9,000 tile job. That sound you hear in a bathroom isn’t the fan. It’s time. This guide gives you the calendar: what to check at 30 days, what to reseal at 12 months, and how to keep porcelain, natural stone, and luxury vinyl plank each on their own maintenance track. By the end, you’ll know exactly what to do and when.
Quick Answer
A bathroom remodel needs a 30-day post-install inspection (grout cure, caulk joints, fixture torque), quarterly exhaust fan cleaning and monthly filter checks, annual re-caulking of wet joints and grout sealing every 12 – 24 months depending on material, and yearly plumbing fixture inspections to preserve manufacturer warranties. Porcelain tile needs sealing every 1 – 2 years, natural stone every 6 – 12 months, and LVP needs no sealing but does need routine cleaning of its wear layer. Skipping the 30-day check is the single most common reason a remodeled bathroom fails early.
Styles & brands we work with
- Kitchen remodeling
- Bathroom remodeling
- Home additions & ADU
- Roofing
- Windows & doors
- Driveway & pavers
- Fence
Table of Contents
- The 30-Day Post-Install Checklist
- Exhaust Fan Maintenance: The Biggest Cause of Moisture Damage
- Material-Specific Maintenance Schedules
- Caulk Joints and Grout Sealing: What to Do and When
- Annual Plumbing Fixture Inspection and Warranty Preservation
- Month-by-Month and Year-by-Year Calendar
- What a Workmanship Warranty Covers and What It Doesn’t
- Common Mistakes to Avoid
The 30-Day Post-Install Checklist
That first month after your bathroom remodel closes is the most important maintenance window you’ll ever have. Materials are still settling. Grout is still curing. Caulk is still cross-linking. Fixtures have been torqued, flushed, and tightened, and any early failure shows up now. Miss this window and small problems become hidden ones.
Here’s what to check in the first 30 days after a remodel in Allen. Our technicians run through this same list before we hand over a bathroom, but we walk homeowners through it so they can stay ahead of it.
- Grout cure inspection (days 3, 7, 14, and 30). Run a fingernail across every grout line in the shower, floor, and backsplash. It should feel hard and slightly rough. If it feels chalky or spongy, it isn’t cured and it needs attention before it fails.
- Caulk joint inspection (day 7 and day 30). Press a thumb into the caulk at the tub, shower pan, and sink edges. It should feel firm, not tacky. Any gap, crack, or pull-away in the first 30 days is a call-back issue, not a maintenance issue.
- Fixture torque check (day 14). Faucets, shower valves, tub spouts, and toilet bolts should not wiggle. Loose fixtures stress the supply lines behind the wall, and a slow leak behind a vanity is the most expensive kind.
- Drain and flush test (day 30). Run hot water through every fixture for two minutes. Listen for gurgling in other drains, which signals a venting issue that can turn into a sewer smell in a small Allen bathroom.
- Exhaust fan airflow check (day 30). Hold a single-ply toilet paper square up to the fan grille with the fan running. It should hold with mild suction. If it falls, the fan is underperforming and moisture is accumulating.
These five checks take 20 minutes and prevent most of the call-backs we’d otherwise be making 18 months out. If a contractor never mentioned them at your walkthrough, that’s a red flag worth noting when you plan your next project. If you’re still in the planning phase and want a remodel where the walkthrough actually sets you up for long-term care, our Groundwork Construction Co. of Allen home page shows how we structure the handoff.
Exhaust Fan Maintenance: The Biggest Cause of Moisture Damage
An exhaust fan is the least maintained surface in a bathroom and the most consequential. In Allen’s humid summers, a fan running at reduced capacity pushes air out slower than the shower pushes steam in. The result is moisture sitting on grout, on drywall behind tile, and inside the ceiling cavity where you can’t see it. That’s the single biggest cause of water damage in remodeled bathrooms, and it’s almost entirely preventable.
Per the Home Ventilating Institute and adopted broadly by Texas builders, an exhaust fan should move 1 CFM (cubic foot per minute) per square foot of bathroom, with a 50 CFM minimum. For reference, a fan specified for a 60-square-foot bathroom should pull 60 CFM. Fans lose capacity as dust builds on the blades and motor housing. A fan rated at 80 CFM with a year of dust might be moving 45 CFM. That’s the difference between a dry ceiling and a mold colony.
Here’s the maintenance schedule we recommend to every Allen homeowner we work with:
- Monthly: Remove the fan grille and vacuum the intake with a brush attachment. Most are friction-fit and pop off with no tools. Thirty seconds of vacuum prevents months of buildup.
- Quarterly: Wipe the fan blades and motor housing with a microfiber cloth. Never spray cleaner into the fan housing – it can short the motor.
- Annually: Inspect the duct run in the attic. Look for disconnected duct, kinked flex duct, or duct that dumps into the attic instead of venting outdoors. This is one of the most common problems we find on Allen homes built in the 1990s and early 2000s. Duct that exhausts into an attic is code-violating and creates a moisture problem in the ceiling assembly, not just the bathroom.
- Every 8 – 10 years: Replace the fan motor completely. Fans at end of life still spin, they just move half the air. A $150 replacement outperforms a fan that keeps promising to dry your bathroom and doesn’t.
One number to remember: a properly functioning exhaust fan should clear mirror fog within 5 minutes of a hot shower. If your mirror stays fogged for 15, the fan isn’t working and you have a moisture problem you haven’t found yet.
Material-Specific Maintenance Schedules
The materials in your bathroom don’t share a maintenance clipboard. Porcelain tile, natural stone, and luxury vinyl plank each age on a different timeline, and treating them all like “tile” is one of the reasons remodeled bathrooms look tired in Allen faster than they should. Here’s how each material actually behaves.
Porcelain and Ceramic Tile
Porcelain is the lowest-maintenance surface in a bathroom and stays that way if you handle the grout. The tile itself is essentially impervious. It’s the grout lines and the sealer that age.
- Clean weekly with a pH-neutral cleaner. Never use vinegar or bleach mop solutions on tile – both prematurely break down grout sealer.
- Reapply penetrating sealer every 1 – 2 years in wet areas (shower floor, tub surround) and every 2 – 3 years on dry-area tile. Test by dripping water on the grout: if it beads, sealing is still intact. If it darkens or soaks in within 30 seconds, it’s time to reseal.
- Inspect for cracked or loose tile once a year, especially around the shower curb. A shifting tile isn’t a cosmetic problem – it means moisture is getting behind the assembly.
Natural Stone (Marble, Travertine, Slate)
Natural stone is the material most Allen homeowners underestimate on maintenance. Marble shower walls look incredible for the first year and then etch, stain, and dull if sealing slips. Stone is porous. It needs attention twice as often as porcelain.
- Seal every 6 – 12 months with a quality penetrating sealer formulated for stone. Marble in a shower needs the shorter end of that range; honed travertine on a floor can go 12 months.
- Wipe water off stone after every shower. Standing water is how etch marks form.
- Never use acidic cleaners (anything with vinegar, lemon, or ammonia) on marble or travertine. Etching is irreversible without refinishing.
- Schedule professional polishing every 3 – 5 years if the stone is in a high-traffic shower.
Luxury Vinyl Plank (LVP)
LVP is the easiest material to keep looking new, and the easiest to ruin with the wrong cleaner. There’s no sealing needed – ever – because the wear layer is a manufactured barrier. But that wear layer can be chemically attacked.
- Damp-mop weekly with a manufacturer-approved vinyl cleaner. Never use steam mops on LVP; heat warps the core.
- Wipe up standing water quickly. LVP is water-resistant, not waterproof, and prolonged moisture at the seams is where failures start.
- Inspect the perimeter seal every year. LVP floats and expands, and the transitions at doorways and tubs are where it shows.
For a look at how these material choices connect to a full renovation scope, our Home Additions & ADU in Allen page covers the structural side of bathroom expansions and how we tie them into the wider home.
Caulk Joints and Grout Sealing: What to Do and When
Caulk is a wear item. It’s the flexible gasket that keeps water out of the joints where rigid materials meet, and it degrades faster than any other component in your bathroom. In an Allen bathroom, the wide temperature swing between a 100°F summer attic and a 70°F showering environment stresses caulk constantly. It’s the reason we recommend a full caulk inspection every 12 months and a full re-caulk of wet joints every 2 – 4 years, not the 5-year cycles some online guidance suggests.
Here’s the calendar we use, based on the Joint Sealant industry’s guidance for interior wet areas and what we actually see in Allen homes:
- Every 6 months: Visually inspect all caulk lines – shower pan perimeter, tub surround, sink backsplash, floor-to-wall transitions. Look for cracking, shrinkage, mold at the edges, or any gap wider than a hairline.
- Every 12 months: Test caulk in the shower by pressing firmly with a thumb. If it moves separately from the tile or tub, that joint is failing and needs to be removed and replaced.
- Every 12 – 24 months: Reseal grout in wet areas with a penetrating sealer. Do this after a thorough cleaning with a pH-neutral tile cleaner and a full 24-hour dry period. Sealing damp grout traps moisture.
- Every 24 – 48 months: Full removal and replacement of caulk at all wet joints. Yes, even if it looks intact. Caulk that still looks fine on the surface often has a compromised bond behind it that no visual inspection will catch. This is the biggest step most homeowners skip.
One thing we tell every Allen homeowner: caulk has a working life, and the working life is shorter than the sales pitch. Use a 100% silicone caulk for the shower pan and tub joints, and a paintable siliconized acrylic for dry-area transitions. Silicone lasts longer but can’t be painted; acrylic can be painted but fails faster in wet zones.
Annual Plumbing Fixture Inspection and Warranty Preservation
Most Moen, Delta, Kohler, and Grohe faucet cartridges are warranted for years, sometimes for life against defects in materials or manufacturing. That warranty is worth real money. And most homeowners void it without realizing. Not through neglect, but through small decisions nobody warns them about.
Here’s the fixture inspection that keeps warranty coverage intact:
- Annual leak check: Once a year, dry the underside of every sink, tub, and shower valve with a paper towel, then run the fixture for two minutes. Any moisture under the cabinet or at the valve body is a problem – and it’s the kind a warranty team will investigate before paying a claim.
- Cartridge and screen cleaning: Remove and rinse the faucet aerator twice a year. Allen’s water runs moderately hard (roughly 8 – 12 grains per gallon in most neighborhoods), and mineral buildup at the aerator stresses the cartridge behind it. A clean aerator adds years to a cartridge’s life.
- Shower valve inspection: Every 12 months, run the shower at full hot and watch for drips from the valve body area. A slow drip at the valve connection is not covered under most cartridge warranties; it’s a plumbing repair.
- What voids a warranty: Using the wrong cleaner (abrasive or acidic products on polished finishes), improper installation of third-party parts, hard-water damage that could have been prevented with routine cleaning, and DIY cartridge replacement with a non-OEM part. All four are the most common warranty denials we see. If a cartridge needs replacing, use the OEM part the manufacturer specifies.
Two other fixtures get skipped in this check. Toilet fill valves should be inspected for leakage every 12 months (a leaking flapper can waste hundreds of gallons a month), and the supply shutoff valves behind every sink and toilet should be turned and re-opened once a year so they don’t seize shut.
The warranty conversation matters to how we build. When we install a Kohler or Grohe fixture in an Allen bathroom, we document the install date and spec so the homeowner has a clean warranty trail. That kind of documentation is one reason our Driveway & Pavers in Allen crews also leave a written handoff – the discipline is the same on every trade.
Month-by-Month and Year-by-Year Calendar
Print this. Stick it inside a vanity cabinet. The schedule depends on it existing somewhere other than your memory.
Every Month
- Vacuum exhaust fan grille.
- Clean glass and mirrors with a non-ammonia cleaner (ammonia damages some frame finishes over time).
- Check tub and shower drain for slow drainage.
Every 3 Months
- Wipe fan blades and motor housing.
- Soak faucet aerators in white vinegar for 15 minutes, then rinse.
- Damp-mop LVP floors with a manufacturer-approved cleaner.
- Inspect tub and shower caulk lines for early cracking.
Every 6 Months
- Full caulk inspection of all wet joints.
- Test exhaust fan airflow with the toilet paper test.
- Clean the toilet fill valve and check the tank flapper for leaks.
- Turn and close every supply shutoff valve under sinks and toilets.
Every 12 Months
- Fixtures: full leak inspection under every sink, tub, and shower valve.
- Fans: inspect attic duct run for disconnects, kinks, or improper termination.
- Stone: reseal marble, travertine, or slate in wet areas.
- Porcelain: test grout for sealer penetration and reseal where needed.
- Caulk: press-test every wet joint; remove and replace any joint that pulls away.
Every 24-48 Months
- Caulk: full replacement of all wet joints in the shower and tub surround.
- Porcelain: full reseal of shower floor and backsplash grout.
- Stone: professional polishing if used in a high-use shower.
Every 8-10 Years
- Exhaust fan motor replacement.
- Full fixture cartridge inspection and replacement where wear is visible.
- Tile inspection for movement at shower curbs and floors.
What a Workmanship Warranty Covers and What It Doesn’t
Groundwork Construction Co. of Allen backs every project with our 730-Day Done Right Promise. If it’s not done right, we make it right – for two full years from the day we hand over the bathroom. That’s one of the longest workmanship guarantees in the residential construction space, and it’s a real commitment, not a marketing line. But it works best when homeowners know exactly where it applies.
Here’s how the line is drawn.
What’s covered: Defects in our installation workmanship – improper waterproofing installation, caulk failure traceable to prep or application, tile set with incorrect thinset or cure time, plumbing fixture installation that leaks at the connection we made, exhaust fan ducting we terminated improperly. If the workmanship is the cause, the 730-Day Done Right Promise covers the repair.
What’s not covered: Material defects (those run on the manufacturer’s warranty – Kohler, Moen, Delta, etc.), damage from skipped maintenance (a caulk joint left to fail for two years isn’t a workmanship issue), damage from the wrong cleaner applied to a stone or finish, water damage from an exhaust fan that was never cleaned, and normal wear on caulk and grout sealer. The schedule in this guide is what keeps those on the covered side of the line.
We spell this out at handoff for every Allen bathroom we complete because we’ve seen how it lands when homeowners find out after the fact. Our promise is to stand behind our work for 730 days. The maintenance schedule above is how you protect the parts of the investment the promise can’t cover.
For more on how we frame accountability across every trade, our Fence Installation in Allen page shows the same discipline applied to exterior work – the handoff is written, not verbal.
Common Mistakes to Avoid
- Sealing damp grout. Sealer applied to grout that isn’t fully cured traps moisture under a waterproof layer and causes the exact failure it was meant to prevent. In Allen’s humid climate, that means a full 24-hour dry period, not a “recently dry” feel test.
- Using vinegar on tile and stone. Vinegar is the most recommended “natural” bathroom cleaner on the internet, and it’s also the fastest way to etch marble and break down grout sealer. Use a pH-neutral tile cleaner instead.
- Skipping the exhaust fan because it still spins. A fan running at 50% capacity sounds exactly like a fan running at 100%. Only the airflow test reveals the difference.
- Replacing a cartridge with a knockoff part. A non-OEM cartridge in a Moen or Delta faucet reliably voids the warranty on the entire faucet. Use the OEM part, always.
- Ignoring a hairline caulk crack in month 14. That crack widens into a water pathway behind the tile in 6 – 12 months. Caulk inspection isn’t a cosmetic task in a shower.
- Cleaning LVP with a steam mop. Heat warps the LVP core, and once a plank shifts, the whole floor can lift at the seams. Damp-mop only.
- Never documenting the install date and fixtures. When a Kohler valve leaks in year four, the warranty claim needs proof of purchase and installation. A photo of the fixture label and the install date in a folder saves the claim.
See the difference
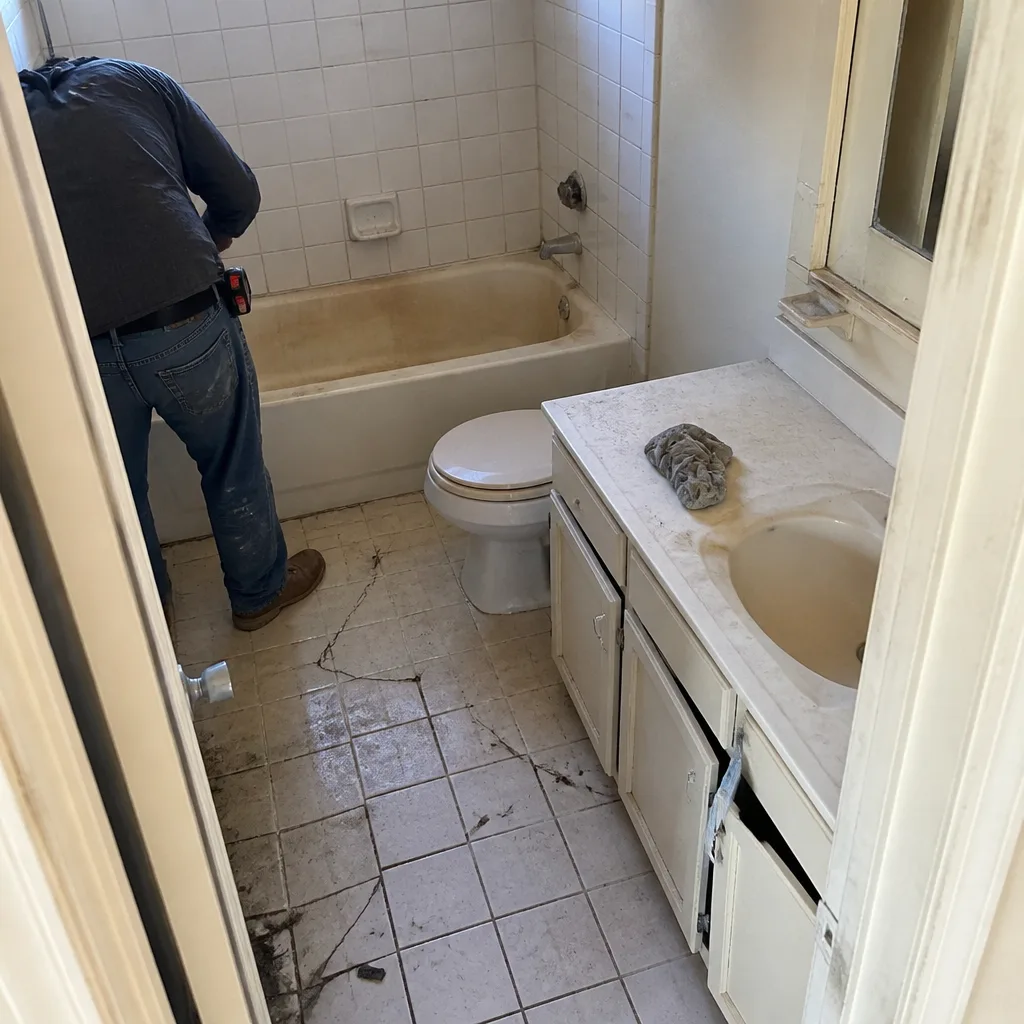 Before
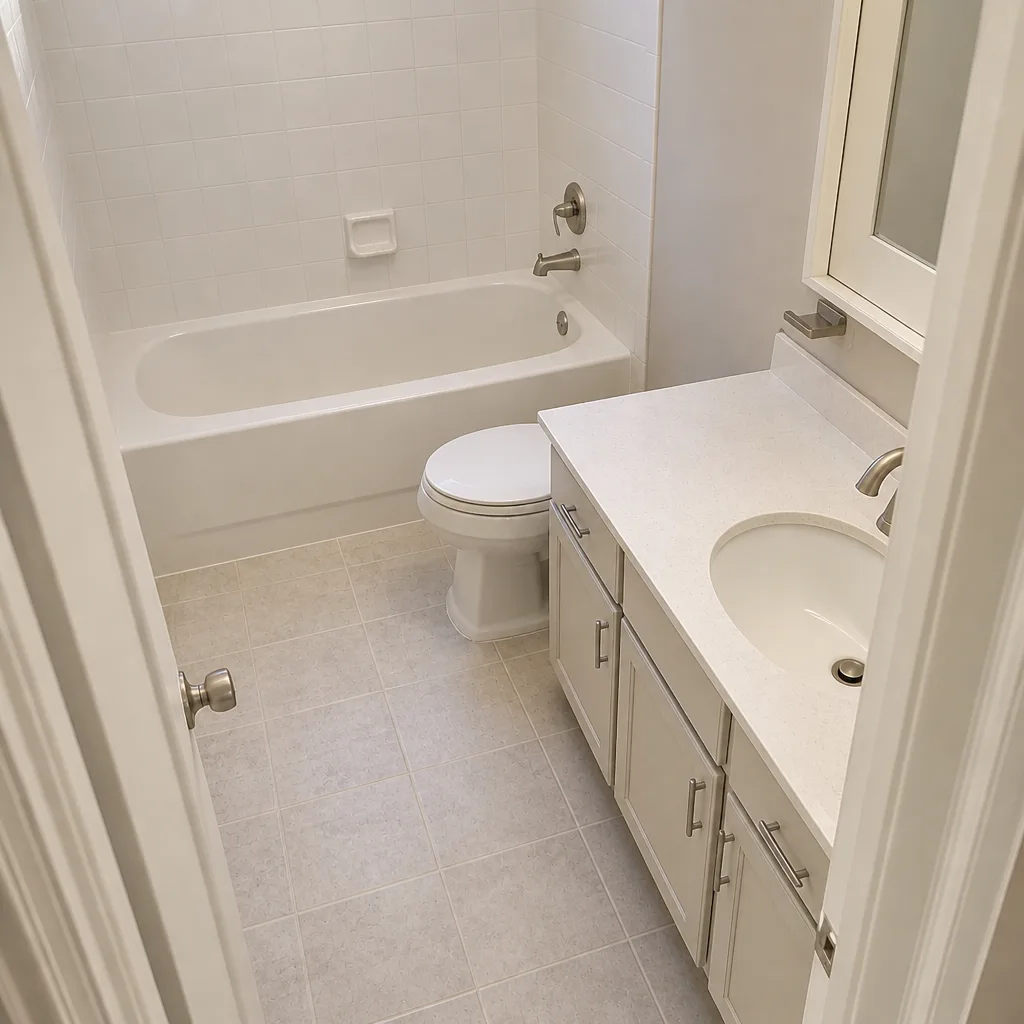 After
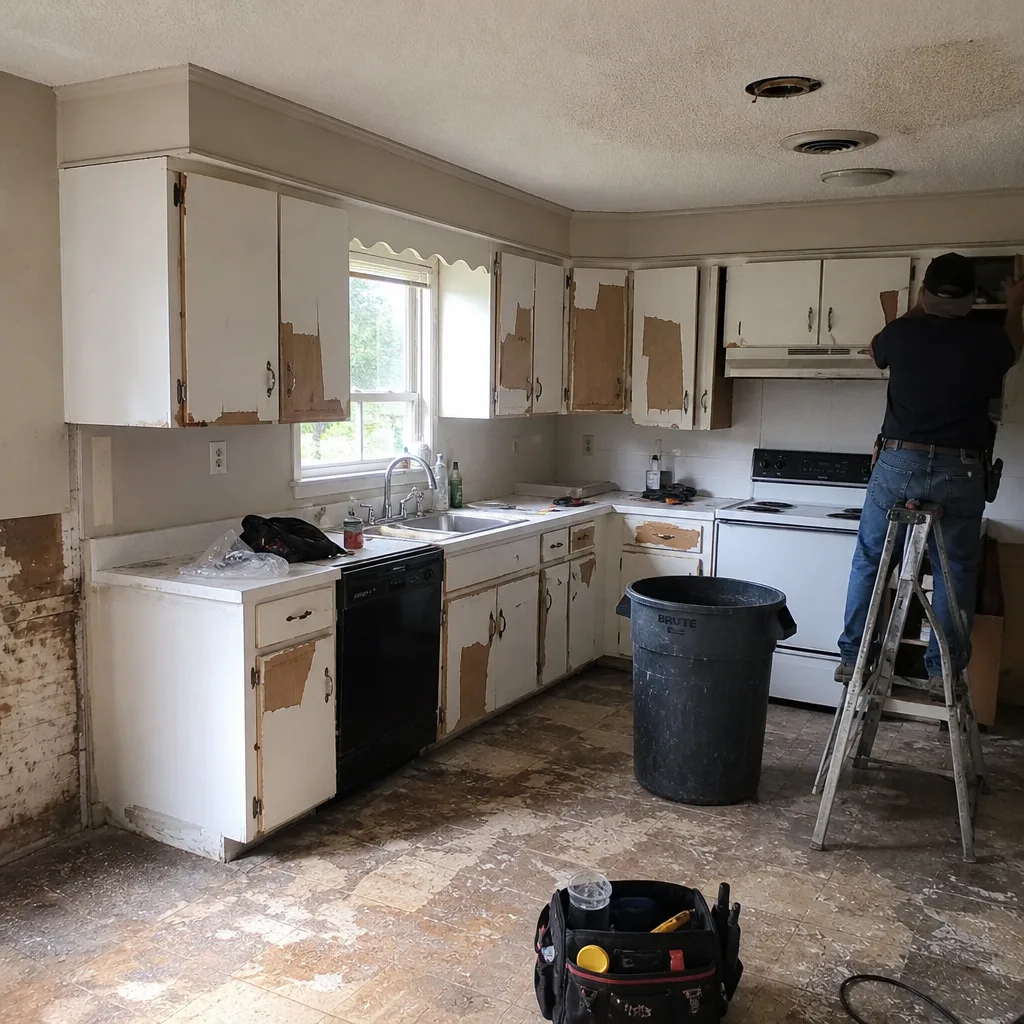 Before
 After
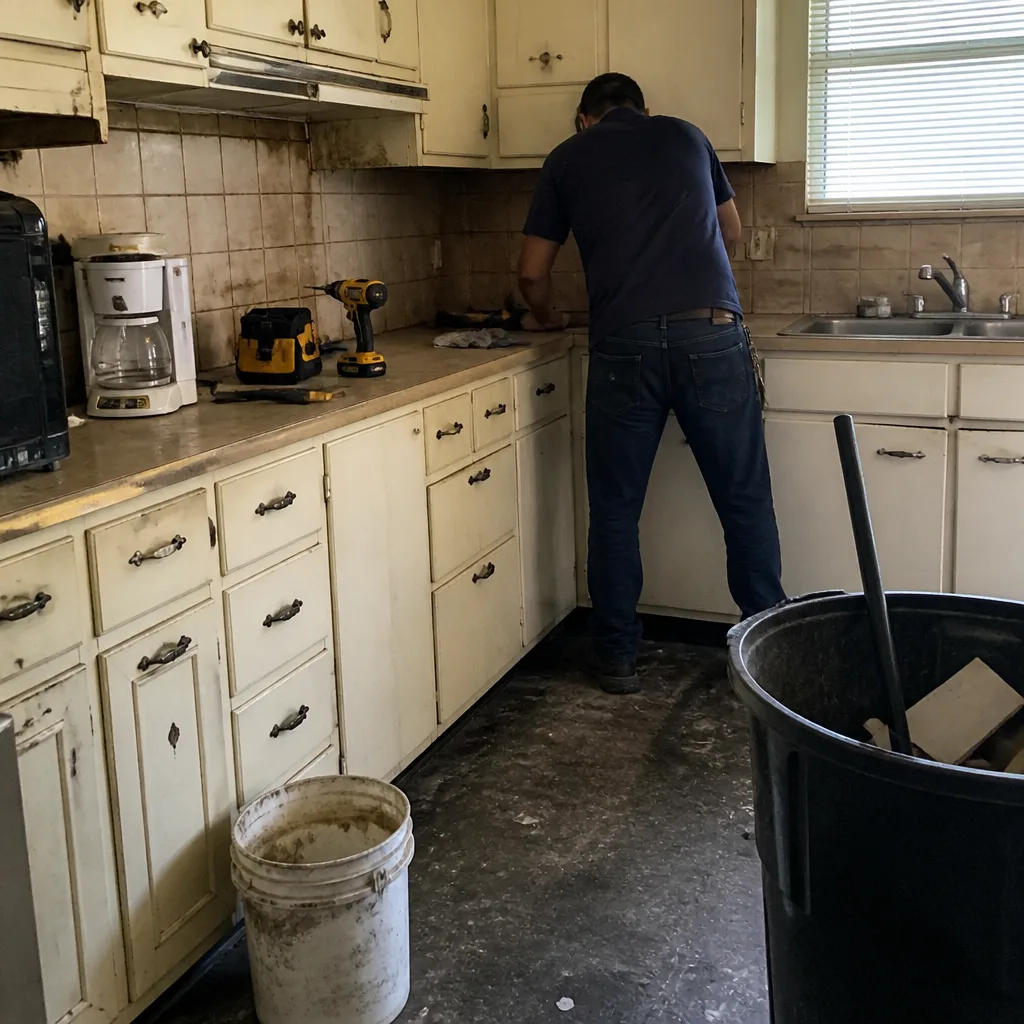 Before
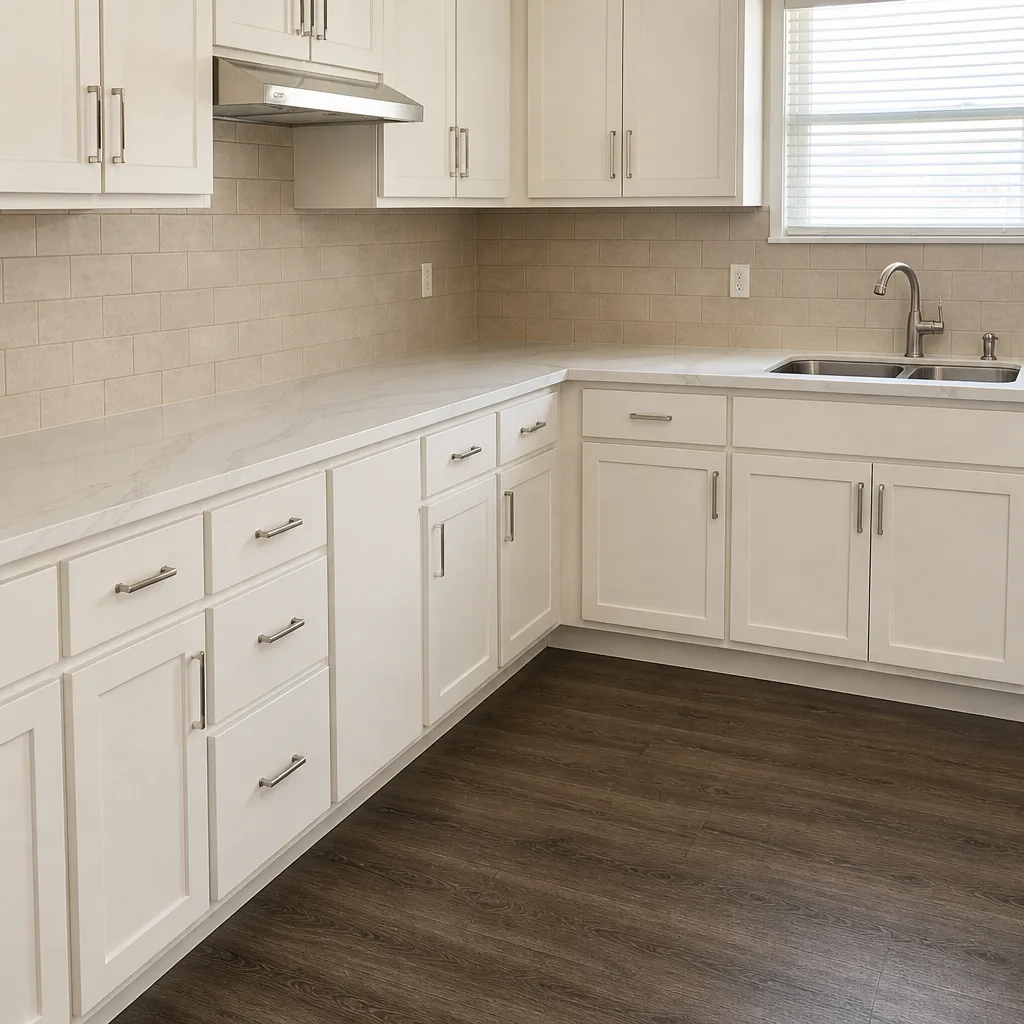 After
When to Call a Professional
Some maintenance is homeowner work – vacuuming a fan, resealing grout, wiping down a stone shower. Some is not. Call a professional when you see water staining on drywall below or behind the shower, when tile feels loose underfoot, when caulk at a shower pan has fully separated and moisture has gotten behind it, when a fan duct has disconnected from the roof or wall termination, or when a fixture leak has already been running long enough to damage a cabinet. These are the situations where a $200 inspect-and-fix call today prevents a $4,000 repair next year.
Groundwork Construction Co. of Allen offers free estimates in Allen. If your bathroom is due for a maintenance visit, a touch-up, or a full remodel where the maintenance schedule gets designed into the handoff, call (888) 343-9048. A live person answers, 24/7. Our technicians have up to 12 years of experience across every trade in the bathroom.
Frequently Asked Questions
Reseal shower and wet-area grout every 12 – 24 months, and dry-area grout every 2 – 3 years. Test by dripping water on a grout line: if it beads, the sealer is still doing its job; if it soaks in within 30 seconds, it’s time. Hard water in Allen accelerates sealer breakdown, so lean toward the shorter interval in showers. Call (888) 343-9048 for a free estimate if you’d rather have us check it.
Yes – a workmanship warranty covers defects in installation, not damage from skipped maintenance. A caulk joint left to fail for two years isn’t a workmanship issue, it’s a maintenance issue. Our 730-Day Done Right Promise covers what we installed and how we installed it. Caulk resealing and grout sealing are homeowner responsibilities. Call (888) 343-9048 with questions about what’s covered.
Hold a single square of toilet paper against the grille with the fan running. It should stay with mild suction. If it falls, the fan is underperforming and moisture is accumulating. Also check mirror fog: a working fan clears fog in under 5 minutes. If not, the fan needs cleaning or replacement. Call (888) 343-9048 for a free estimate if the fan needs replacing.
No – maintaining grout and caulk on a schedule is expected, not voided. But improperly applied sealer that traps moisture and causes a failure can complicate a warranty claim, because the defect is the sealer, not our installation. Use a quality penetrating sealer on fully cured, fully dry grout. Call (888) 343-9048 if you want us to check a specific situation.
Never. LVP has a factory wear layer that functions as the finish – it doesn’t get sealed and shouldn’t be. Damp-mop weekly with a manufacturer-approved vinyl cleaner, avoid steam mops, and wipe up standing water quickly. If planks feel loose underfoot, that’s an install issue, not a sealing one. Call (888) 343-9048 for a free estimate if you’re seeing that.
The 730-Day Done Right Promise covers defects in our installation workmanship for two full years after handover – waterproofing, caulk application, tile setting, fixture connections, and exhaust ducting we terminated. It does not cover material defects, maintenance failures, or damage from incorrect cleaners. If it’s not done right, we make it right. Call (888) 343-9048 for a free estimate on a fresh bathroom build.
The Bottom Line
A bathroom remodel succeeds or fails on what happens after the crew leaves. The 30-day post-install check catches early failures while every fix is free. Exhaust fan cleaning prevents the moisture damage that quietly eats a remodel from the inside. Material-specific sealing schedules for porcelain, stone, and LVP protect the surfaces you’ll see every morning for the next 15 years. And annual fixture inspections preserve the manufacturer warranties most homeowners void without ever knowing. Groundwork Construction Co. of Allen builds bathrooms that come with a maintenance plan baked in, backed by the 730-Day Done Right Promise. Ready to plan yours? Call (888) 343-9048 for a free estimate and design consult.
Written by the team at Groundwork Construction Co. of Allen.